|
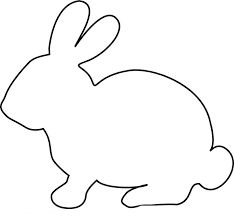
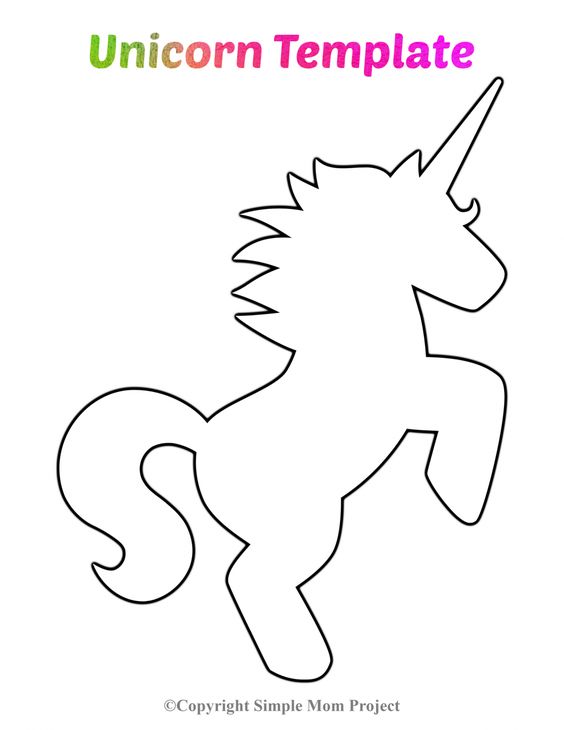
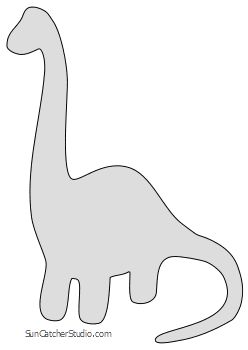
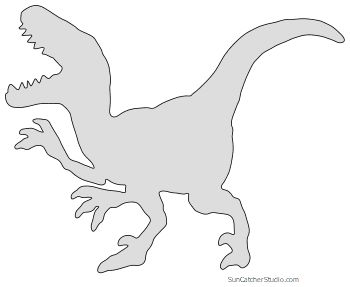
Dear Little Atelier Families, I prepared Little atelier children's all-time favorite art activity. It is a sort of printing techniques, but I am not sure about the exact name of this technique, so I named it Positive Space Painting. Let's start. <Supplies>
<Direction>
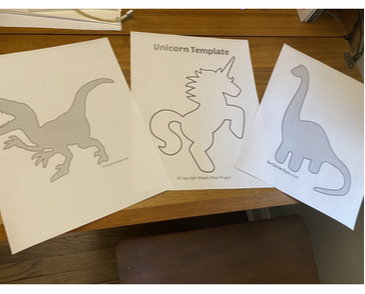 2. Cut out the positive space. 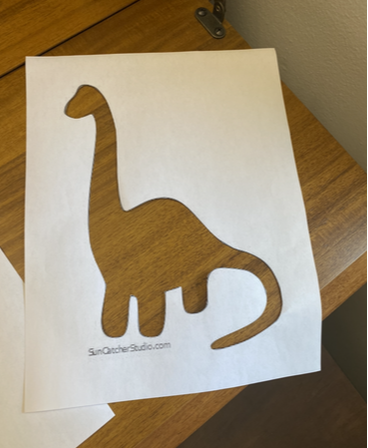 3. Secure the template on the painting paper. ***Please prepare step 1~3 beforehand for younger children. If older children can cut out by themselves, they can try. 4. Have children freely paint on it with brushes or cotton balls for dabbing technique. 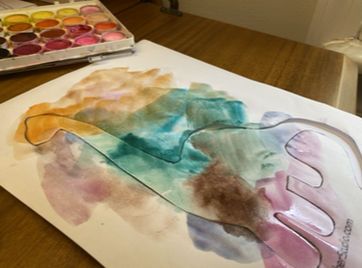 5. Gently separate the template and voila~! (I mean...just refer the idea. Of course, the children's works will be much more interesting and dynamic.) Enjoy~! 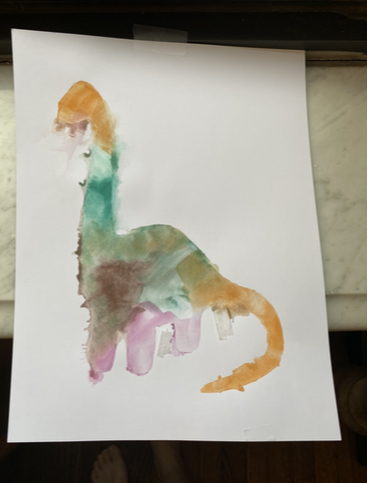 Dear Little Atelier families, Does everyone have a muffin tin at home? Let’s make a pop-art style muffin tin art! Supplies - muffin tin - paint - paper (it can be any paper -blank white or even newspaper is okay, too!) - brush 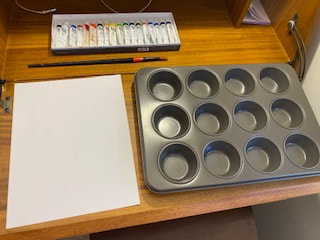 Direction 1. Cut paper in 6pieces 2. We are going to use the BACK of the muffin tin. Squeeze some paint on it. 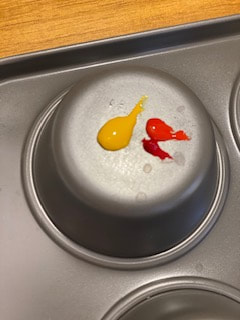 3. Using a brush, have children enjoy painting on the tin. 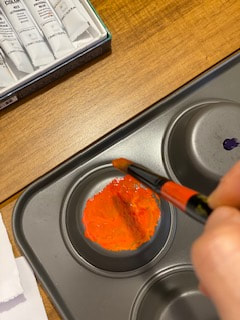 4. Bring a piece of paper and gently rub it. 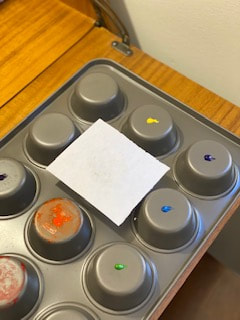 Voila~~ for the rainbow lovers! 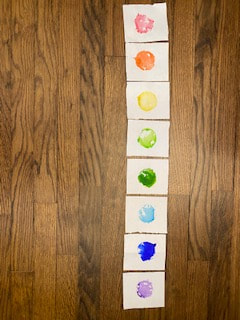 You can arrange it like this, too. (Frame friendly) 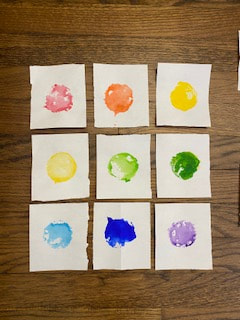 Applications 1. Children can use any color. Please have them explore freely. 2. I did it with water color, so it dried pretty fast. After one color is dried, have children stamped it again on another color. Mine reminds me of fruits and in pop art style. 3. Of course, children’s colors will be more energetic and fun (don't expect their works to be neat as this). After all squares are dried, you can pile them together and put some heavy books on it to flatten them if the papers are curling up. And then, arrange the squares orderly and frame it. If possible, do this process with the children. They will feel appreciated and proud when grown ups handle their works carefully with respectful manner. 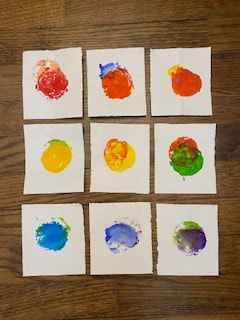 I hope you enjoy it!
Good thing is that this week is going pretty fast! Warm regards, So yeon Greetings Little Atelier families, How are you guys doing these past two weeks?! Have you been trying/enjoying the activities that we have been sending out? (I hope so! Haha 😂). I wish you and your family continuous good health and safety as we all are trying to get through this crazy time! As spring time is coming upon us, I'm reminded of the flowers that are starting to sprout up from the ground. For this activity, it's a cool experiment for children to watch flowers "blossom/bloom" right in front of their eyes! This experiment is very simple, only involving few materials. Materials: -Paper -Markers -Scissors -Container -Water Steps: 1. Search/draw out some flower templates with petals that suits you. 2. Have children color/decorate the flower templates as they wish; let their creativity shine! 3. Cut out the flower templates. (If children are eager to cut their own, let them! It's a great way for them to practice their scissor skills and hand strength!) 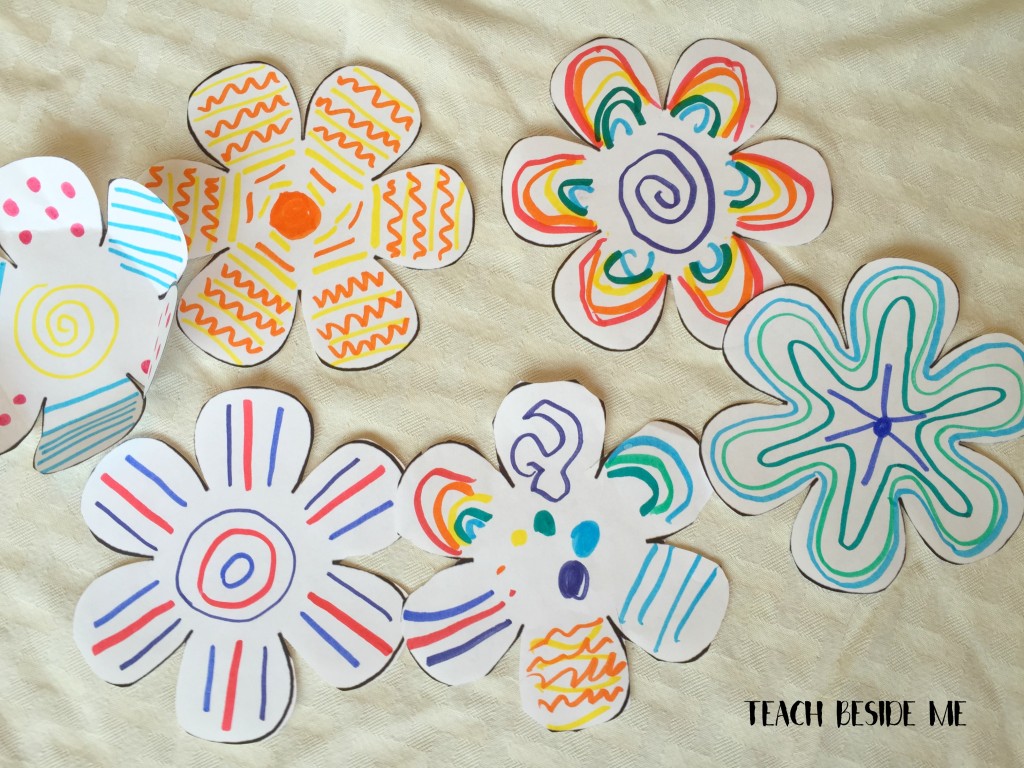 4. After it's cut, fold the petals into the center. Note: Make sure not to fold/crease it tight as that will cause the petals not to open as easily. 5. You can even add in a surprise inside as well, by adding in extra paper in the middle of the flower. 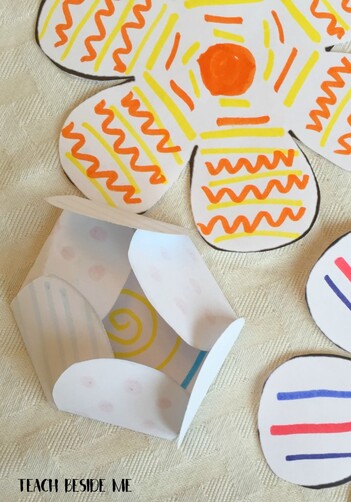 5. Fill your container with a few inches of water. 6. Place the flowers in the container and watch them "bloom!" 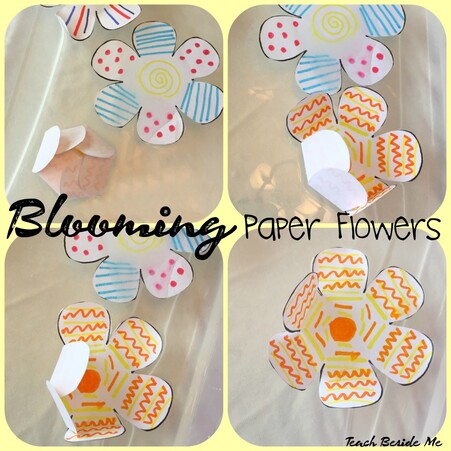 I hope this simple but fun experiment can bring some spring time vibes into your household! If the weather permits, you can even bring this activity to your backyard/balcony and enjoy some sunshine! I miss all the children and their families so much and am thinking of and about them every single day! 🙂
Best regards, Ms. Stephanie Hello families, The weather has been so beautiful and I can see that the Spring season is coming. It isn't ideal that we all have to stay indoors in such wonderful weather, but there are still ways to have fun with and enjoy the sunlight even at home! The children have been noticing and playing with their shadows during outdoor play in the past few weeks, so I thought it would be fun to do an indoor activity about shadows as well. On a sunny day like today, children can engage in a shadow tracing activity like this: 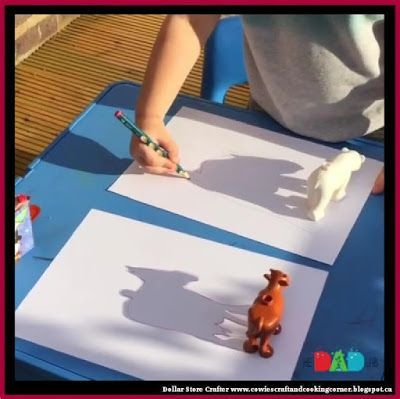 You can set up a table by a window with lots of sunlight and have the children trace the shadow of their favorite toys and block structures. If you have access to a backyard, this can also be a fun outdoor activity as well! On dark and cloudy days, like tomorrow, you can alter the activity like this: 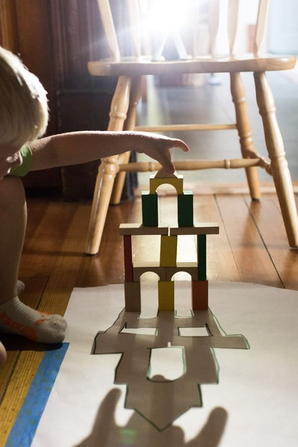 Instead of sunlight, you can use a flashlight to make shadows with blocks and toys. You can extend this activity to have the children explore with other household objects and even their own hands and feet!
I remember some of the children enjoyed games of "Shadow Tag" so I know their creativity can lead to some fun interactions. I hope this activity adds more fun to your weeks! Best regards, Esther Dear Little Atelier families, Have you heard of Oobleck? It's a very fun mixture made with simple materials - water and corn starch. It is also known as "non-newtonian" substance because of its quality. It becomes more liquid or more solid under certain condition (temperature or pressure). 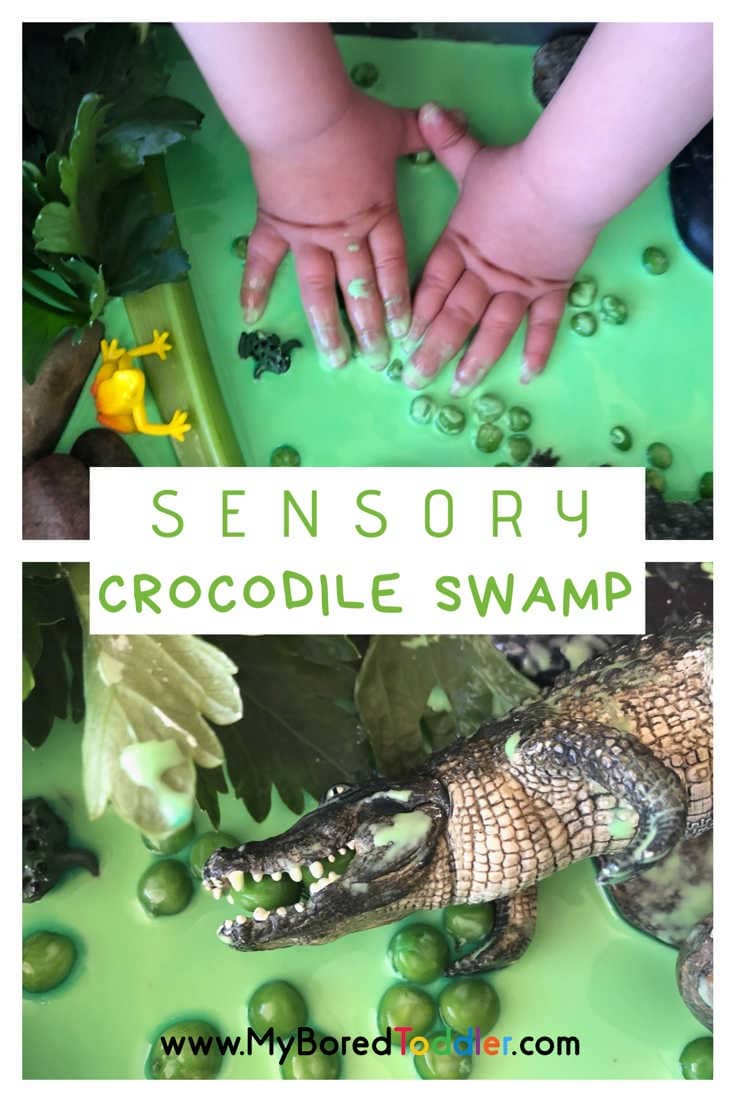 Supplies :
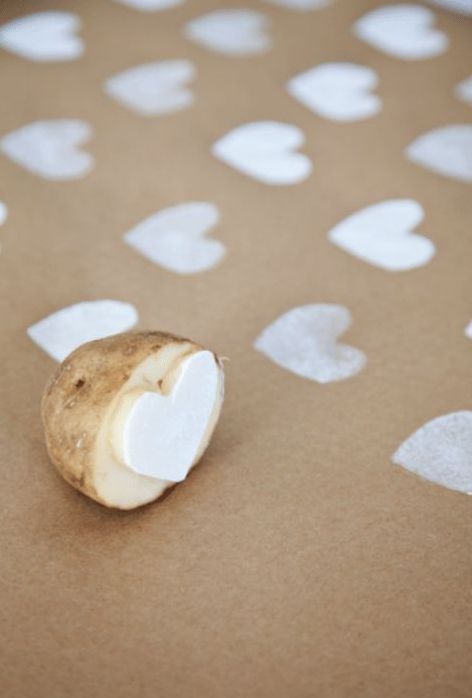
Corn starch (1.5 cup) Water (1cup) Large bowl or baking pan Food coloring or paint (optional) Something to cover your play surface Small rocks and toys to play with (optional) Direction: 😅😅 Well,,you just mix corn starch and water and....feel the consistency. Add water if it feels too thick and add corn starch if it's too watery. It will become little messy, but it is easy to clean, too. Enjoy and share your pictures with us if you did something fun with it! Thank you. Warmly, So yeon Source: https://myboredtoddler.com/sensory-crocodile-swamp-small-world/ Dear Little Atelier families, How are you doing? Have you tried the activities we've been sending? At school, the teachers take turns and prepare group works or art activities each day. Monday : center activities Tuesday: art (Ms.Soyeon) Wed: group work (Ms.Stephanie) Thurs : group work (Ms.Esther) Fri : art (Ms.Soyeon) We've been sending emails a day before the days we are in charge so you can have time to get supplies if you need and plan your time ahead. For example, if you don't have enough potato for tomorrow, you can get it today. When working with children, organizing yourself is the key (minimize back-and-forth supply grabbing time, neatly organize supplies on the table so the children want to grab them and explore them), so you can minimize the distractions and the children can focus for long time without interruption. Here is an art activity suggestion for tomorrow. Title : Potato stamping art 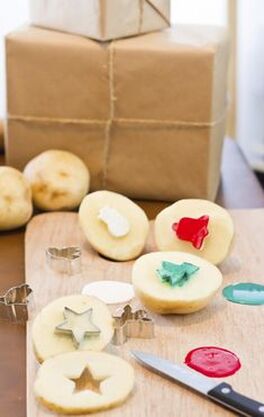 Supplies : Potatoes, Paring knife for carving shapes (or cookie cutter can work, too!) Pen or pencil to draw shapes Paint and small brushes Plate to use as a pallet Paper to stamp on
5. You can also carve your child's name letters and have them make their names. For example, you can carve S O Y E O N (6 letters). If you are working with more than one child, you don't have to carve the common letters twice or three times. Have them share. That's another way of learning commonality. 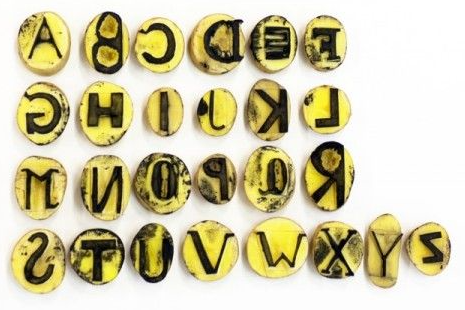 (source: https://www.brit.co/potato-stamps/)
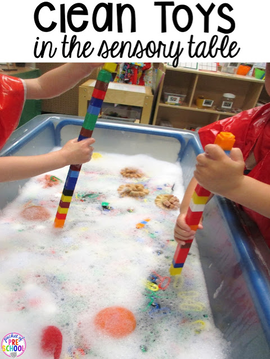
I don't want you to be overloaded with activities 🙂, but it is good to have resources. Enjoy the time with your children. It passes away fast. Warm regards, So yeon Good Morning families, I hope everyone is staying safe and healthy. Below are a few "practical life skills" activities that you can do with your children at home. Staying at home with family is a great opportunity for the children to learn how to help grownups with daily household tasks. Not only can they help grownups, but these life skills also develop the children's fine/gross motor, cognitive, and even social emotional skills! Little Matisse Class (2 years old) [Toy Cleaning Sensory Bin]
 Little Picasso Class (3 years old) [Sorting Laundry]
 Hope these activities will be helpful in teaching and engaging with the children in fun ways at home! I look forward to hearing/seeing how the children have been doing so far.
Thank you, Ms. Esther 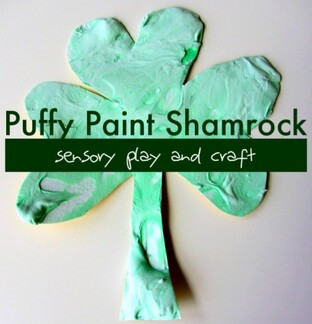 Good Morning everyone,
Happy Wednesday! 😊 I hope you all found my email some what helpful last night. I am sending you all this email for an activity that you can do with your children (older and younger). In honor of St. Patrick's Day, I thought this activity might be fun for children to work/play with! You will need: -Shaving cream -White glue -Green paint/food coloring -Something to stir with -Markers -Scissors -Heavy duty paper Steps: 1.Start by drawing a shamrock on the paper and do not worry, it does not have to be perfect. (The older children can probably do this step themselves). 2.Mix 1 cup shaving cream with 1/4 cup of glue and add in the green coloring until your desired color. (If you do not have measuring cups, you can just eye-ball it). Get the children to help out with this step too! 3.Start playing/painting with your puffy paint on the shamrock! 4.Let it dry for 24 hours and cut out the shamrock! Here is the link in case you want more information: https://www.notimeforflashcards.com/2012/03/st-patricks-day-sensory-play-craft.html I hope this sensory play can bring some fun and engagement on this gloomy day! I would love to see how it all turns out! P.S. If there are left over puffy paint, children can have some free painting time! They always love free draw at school 😁. Best wishes, -Stephanie |
AuthorWe are the teachers of Little Atelier. We love to share our fun days, meaningful plays, and memories with you! Archives
June 2020
Categories |
||||||||||||


 RSS Feed