|
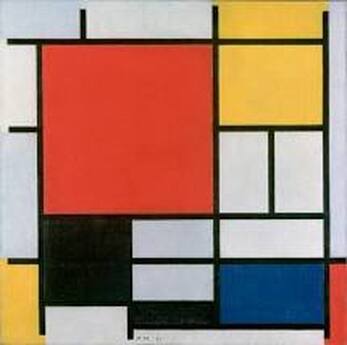
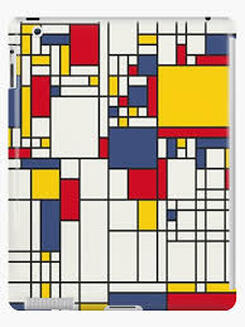
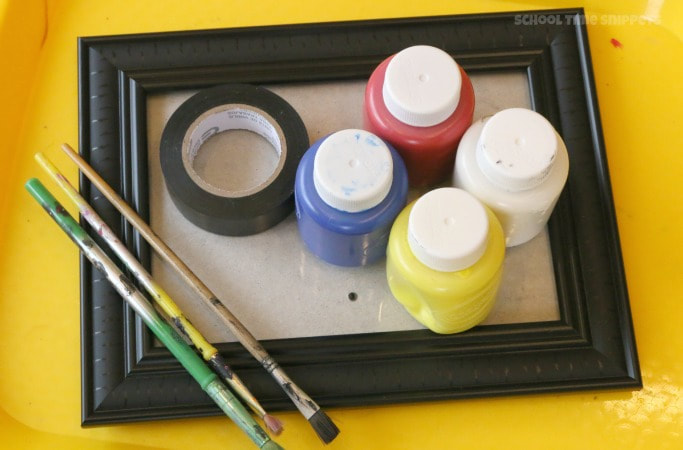
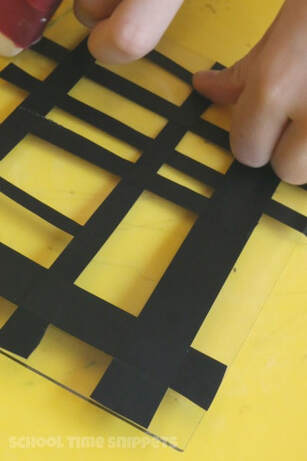
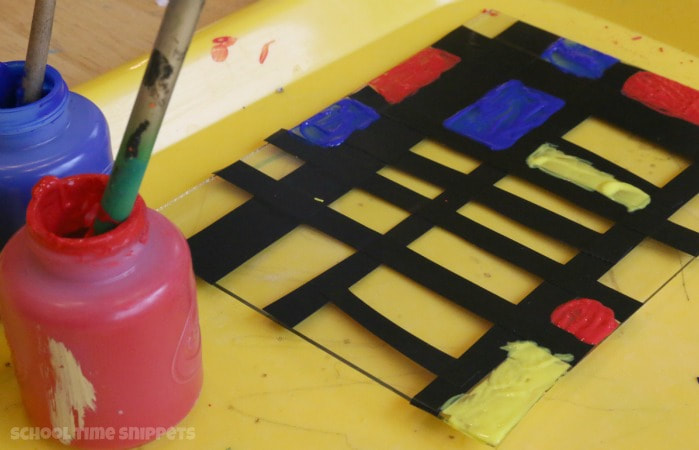
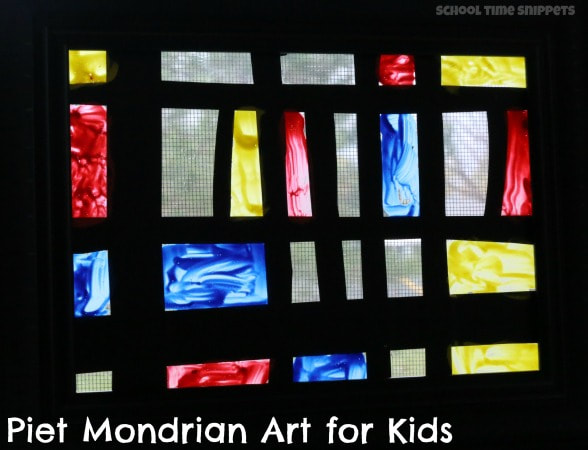
Today, I want to introduce Piet Mondrian's Compositions. These are his original works. His works have inspired many artists, designers, and architects world around and their reinterpretations with great scales and innovative ideas are just amazing! Have some time with the children to see the original paintings and the applied works done by other artists and discuss what they see and find in terms of space, colors, scale, and materials and more. And then, let's make our own reinterpretation of Mondrian by creating a beautiful sun catcher. <Supplies> - Frame in any size with acrylic or glass surface - Black tape - Blue, yellow, red and white paint - Paint brushes **Source found from:: https://www.schooltimesnippets.com/2015/10/piet-mondrian-suncatcher-art-for-kids.html?fref=gc <Direction> 1. Separate the parts from the frame and use the clear surface to use as a canvas. Tailor the width and length of the tape by cutting it. 2. Have children paint each rectangle with different colors. **Ask them how Mondrian used the colors (if he mixed the primary colors or used original colors for each rectangle). Suggest them to use the primary colors without mixing them this time to make his/her work look like Mondrian's composition. 3. Put the frame together to look like this!
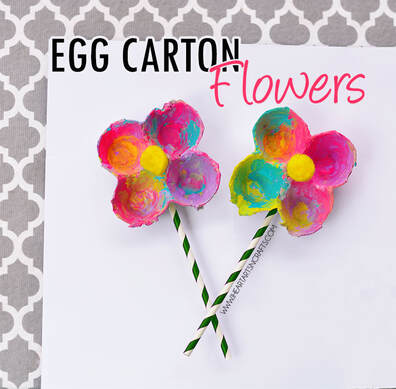
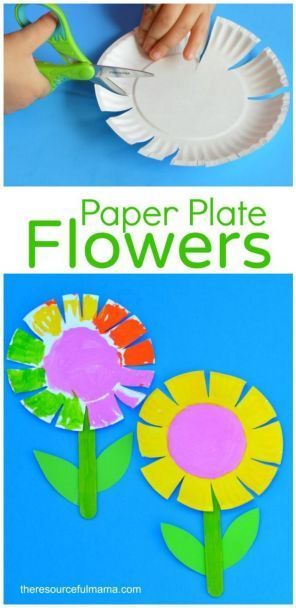
Have you tried making April showers mobile? Then, it's time to make May flowers! It is very simple and all you need are paper egg carton and paint (and of course, paint brushes, too). You can hang the May flowers with the April showers mobile hanger or put it in a mason jar under the mobile. Here are some spring songs you can sing with the children. Spring Time Song (to the tune of "Are You Sleeping?") I see rain clouds, I see birds' nests, Butterflies, too! Flowers, too! Everything is growing, The wind is gently blowing, Spring is here! Sprint is here! Grow a Plant Song (to the tune of "Row Row Row Your Boat") Grow, grow, grow a plant Starting with a seed Give it soil, sun, and water That is all you need! <click below link> https://www.iheartartsncrafts.com/egg-carton-flowers-kids-craft/ If you don't have paper egg cartons handy, you can use any paper and cut like below picture and have children paint. I think the picture is explaining the procedure pretty clearly. Enjoy the beautiful season!
Hello everyone,
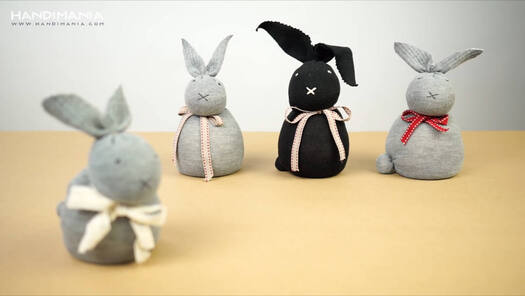
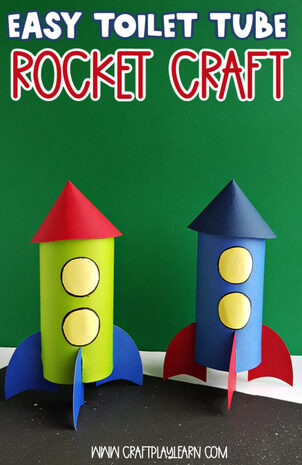
I hope this email finds you and your family well! I am sending a link to you guys of an Easter/Bunny day craft that you can do together with the children! The craft is a great way to repurpose an old sock and turn it into something meaningful/long lasting. It requires little materials and the children can decorate their bunny sock(s) at the end! Link for materials: https://dynamicdad.uk/activities-craft/how-to-make-a-no-sew-sock-bunny/ Link for directions: https://dynamicdad.uk/activities-craft/how-to-make-a-no-sew-sock-bunny/2/ Good Evening everyone, As you were informed today, we will be starting a new project about mars, craters, space, astronauts, and any other topic the children want to learn about based on the book, "Life on Mars". In light of the new project theme, I thought it would be fun to do a rocket ship craft! It is a very simple craft that doesn't require too many materials and there's definitely a lot of room for creativity from the children. I know that the children love to make and play with rocket ships so I hope they have fun with this one as well! Below is a link to the craft instructions: https://www.craftplaylearn.com/homemade-rocket-craft-for-kids/ I would encourage the children to cut and paste independently and to get creative by designing/decorating the rocket ship with their drawing!
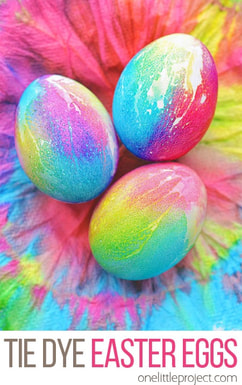
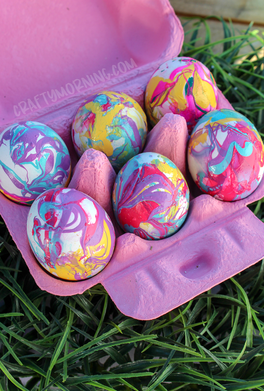
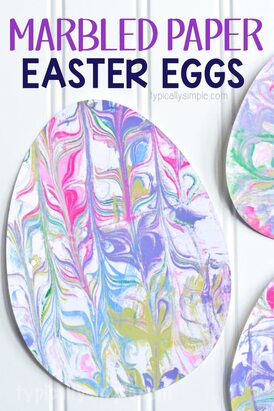
I look forward to seeing everyone again this Thursday and hope you are all staying safe and well. Thank you, Esther Dear Little Atelier families, Easter is coming! Let's decorate eggs with children this week. I found three fun methods. One is using food coloring and another is using nail polish. Lastly, if you cannot use the real eggs, you can do paper egg decorations. 1.With food coloring **Spraying water at the end is the key! Don't forget to wear gloves! https://onelittleproject.com/tie-dye-easter-eggs/ 2. With nail polishes **Making swirling pattern with toothpicks is the key! Don't forget to wear gloves! https://www.craftymorning.com/nail-polish-marbled-easter-eggs/ 3. If you don't have enough eggs or don't want to use eggs for craft in this special time, you can use paper and do art with children. I am introducing this beautiful shaving cream marble eggs.
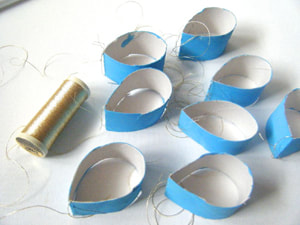
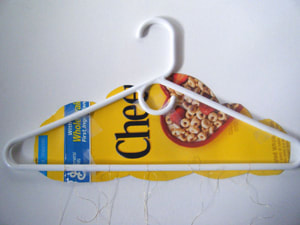
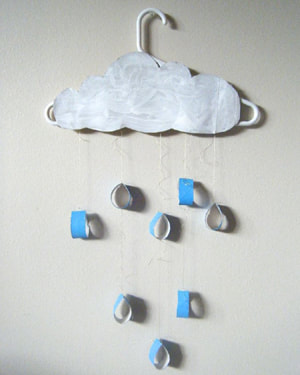
https://typicallysimple.com/marbled-paper-easter-eggs/ Dear Little Atelier families, April is here already! Every April, we learned the saying, "April showers bring May flowers" and we also have done big group art project together. Although we can't make a group project now, we still can welcome April showers and May flowers by making beautiful art mobile. <Supplies>
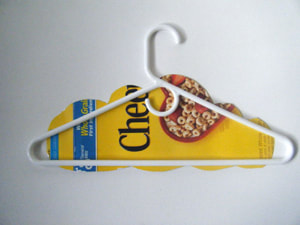
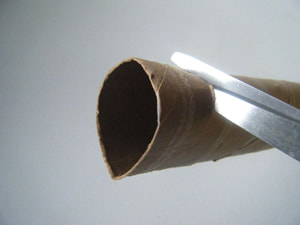
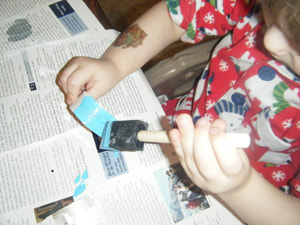
1. Cut out the cereal box to make cloud shape. 2. Lay the hanger on top of it and trace a cloud shape. Make it as big as possible, overlapping the edges of the hangar. 3. Have children paint the cloud. 4. Crease firmly along one side of the paper towel roll, forming a raindrop shape. 5. Cut the tube with scissor evenly to make raindrops and have children paint them. 6. Cut different lengths of thread/yarn and tie the end of each one to the top of each raindrop, and tie the other end on the hanger. 7. This is the end result. *source : www.allkidsnetwork.com
Next week, we will make May flowers. If you have paper egg cartons, that will be great. If you don't have it, it's okay. Enjoy~! Best regards, So yeon Hi Parents,
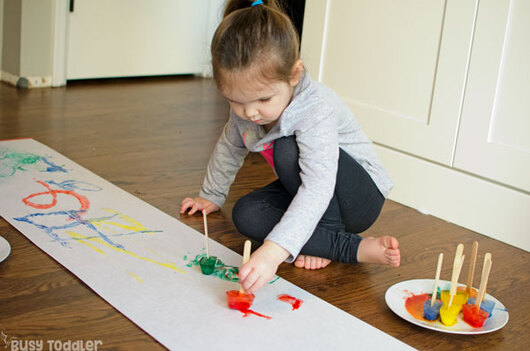
I'm here to send you another activity idea! So sorry that I'm sending it out a bit late! But please feel free to do this at your own time 🙂 I thought it'd be fun for the children to do more art! They've experimented with so many materials but have they ever painted with ice?! For this activity, all you will need are: -Paper -Ice cube tray -Paints -Any sticks/dowels strong enough to hold on to the paint while freezing -Foil Steps: 1. Put paint of your choice in your ice cube tray and top it off with a bit of water and mix it well. 2. Lay foil over the ice cube tray and make small cuts along the top so the sticks can go in and fit easily. 3. Freeze it! 4. If the paints do not release, try dipping them in some hot water first! It's as simple as that! Children will get to enjoy this process art as there is no right or wrong way to do this! It's all about having fun and enjoying the process and watching their art work come to life. I have attached the link below if you want more information! I would love to see how their paintings came out 🙂 https://busytoddler.com/2018/01/frozen-paint-process-art-activity/ |
AuthorWe are the teachers of Little Atelier. We love to share our fun days, meaningful plays, and memories with you! Archives
June 2020
Categories |

 RSS Feed