|
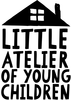
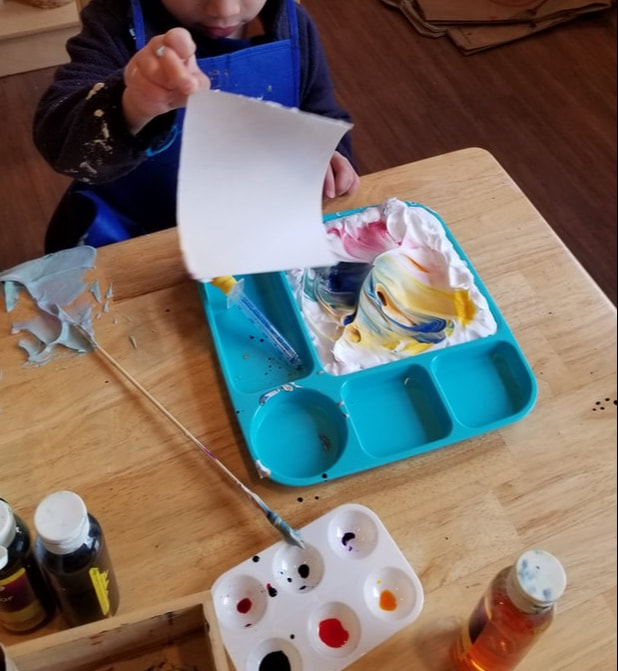
Guess what we did in this art class! We experimented how shaving cream would react with water color paint. The supplies were shaving cream, liquid water color, dropper, skewer stick, cardboard scraper, and white paper. 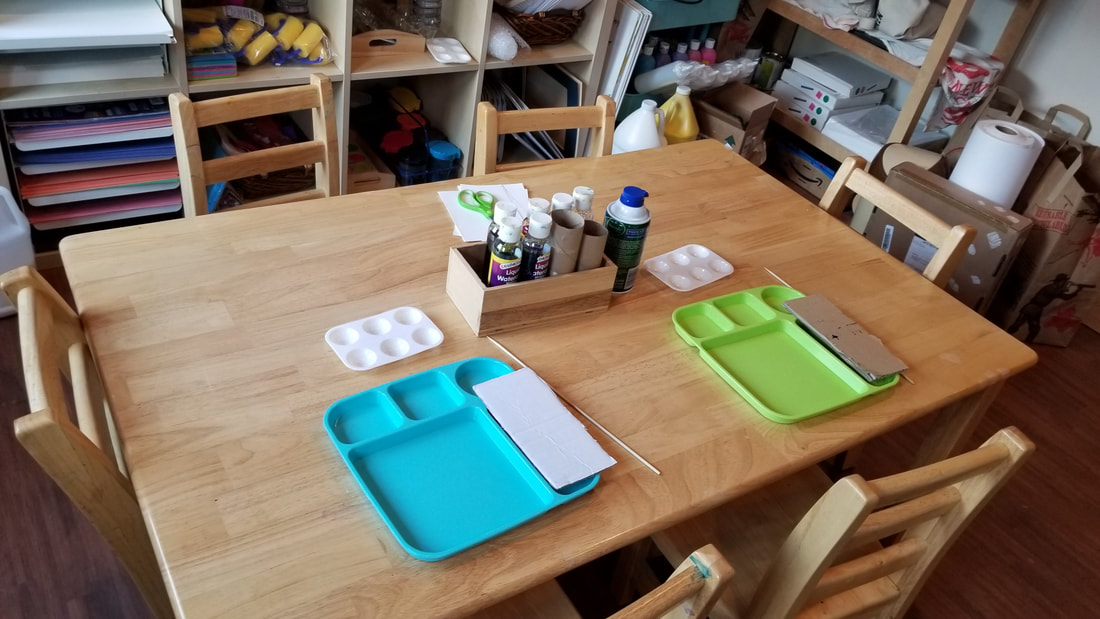 First, the children spread the shaving cream on the tray. Using the liquid dropper, they dropped different colors of the liquid water color. 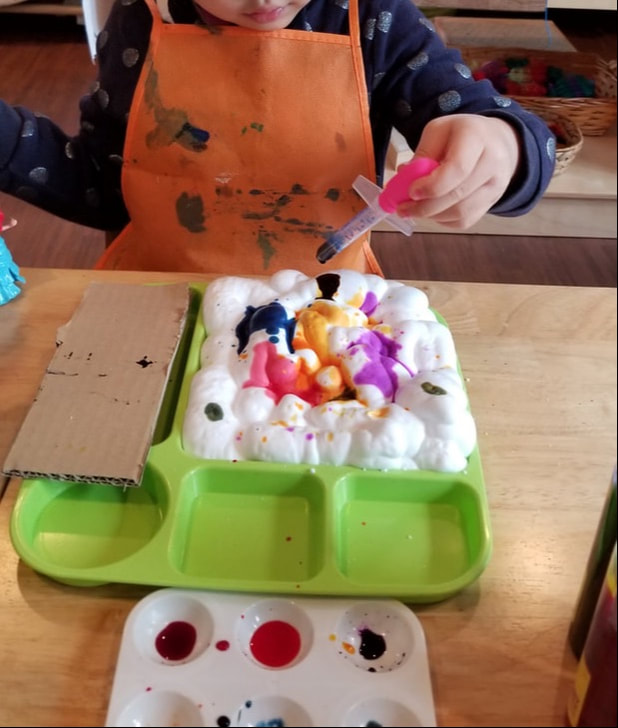 The children used the skewer stick and mixed the colors. The children commented, "Look, it looks like a tornado!" 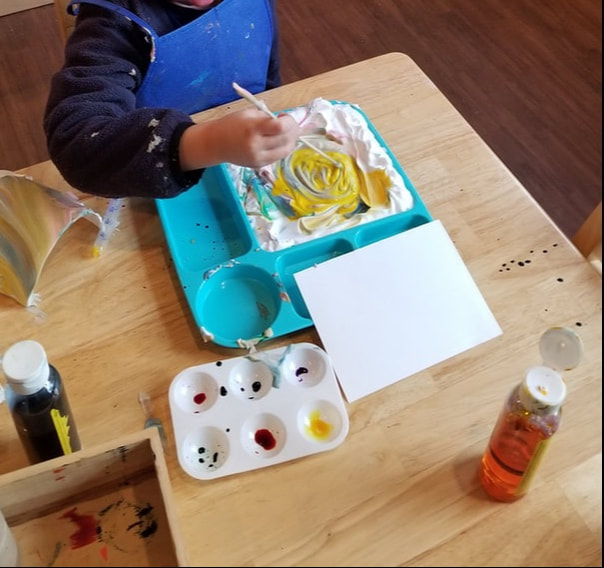 And then, they pressed the white paper lightly on the shaving cream and scraped out the excess shaving cream with the cardboard scraper.
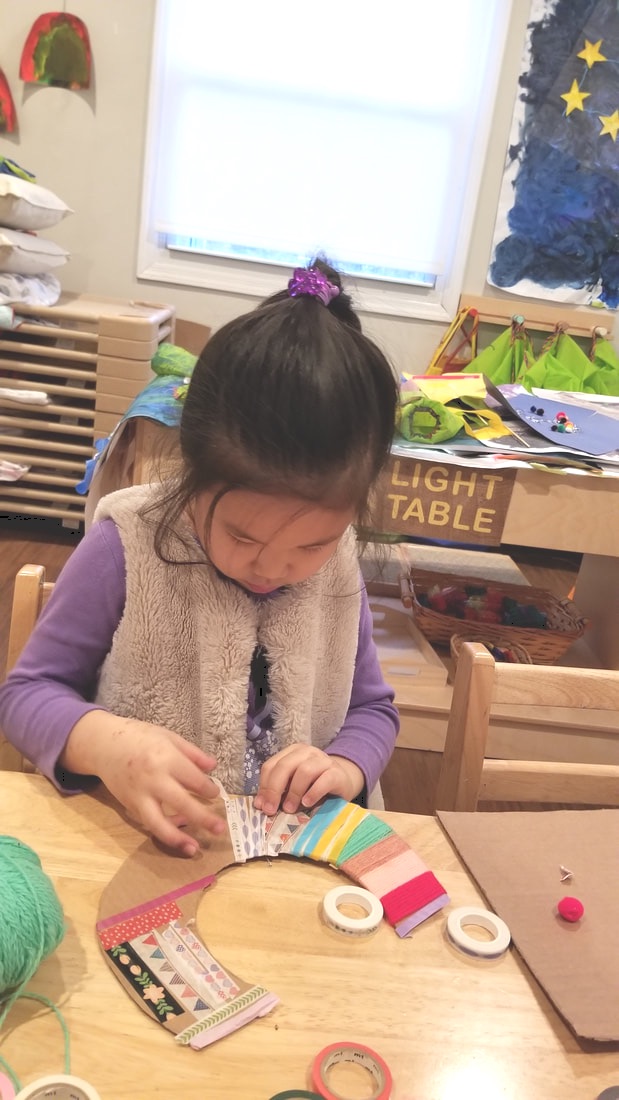
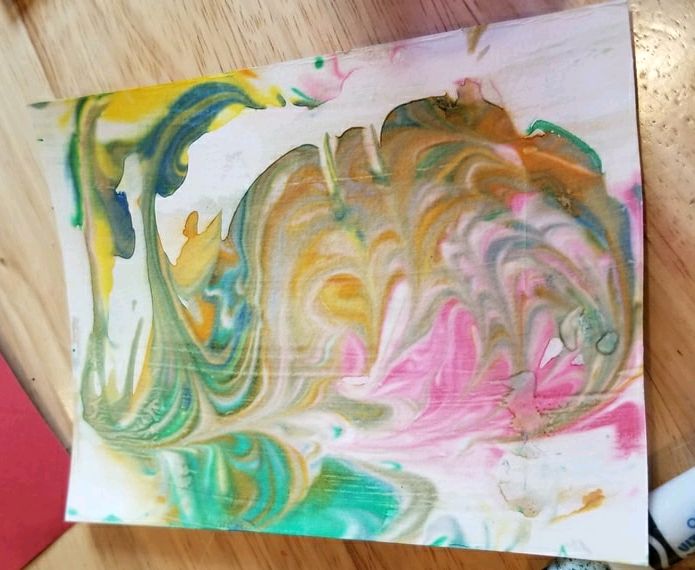 The marbling came out so beautiful!! O said, "The colors are dancing!" 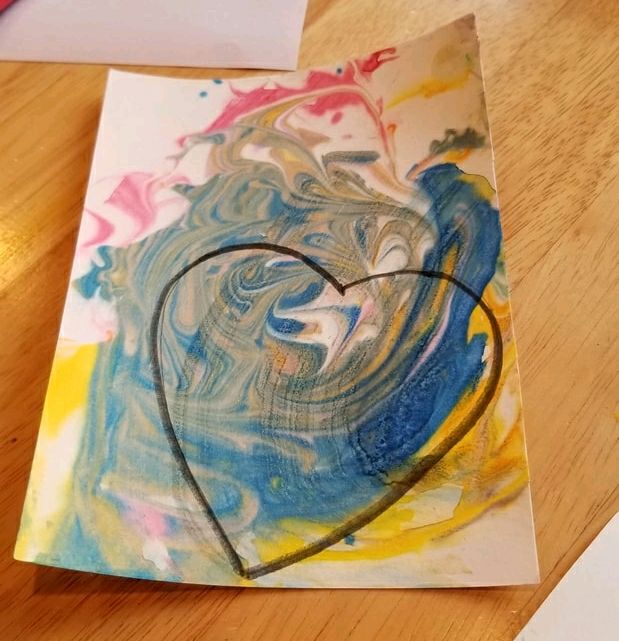 The children cut it in heart shape and used it for making a Valentine's Day card for mommy. I didn't have a chance to take a picture of it :(, but it came out lovely! 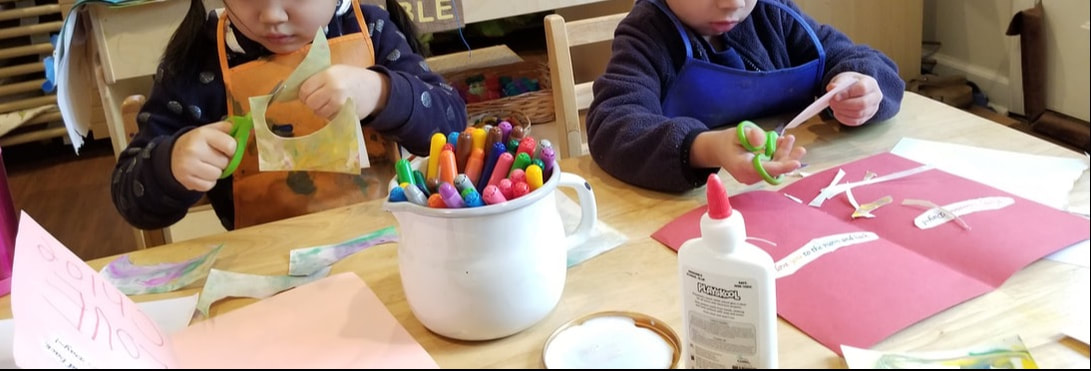 Last Thursday in art, we did a beautiful collage on a cardboard paper. The letter was the student's initial and using all the materials, she was free to explore them any way she wanted to decorate it. Here are the materials we used : Cardboard (one for the cut-out letter, another one for the background) Washi tapes Yarns Pom poms twigs hot glue gun tempera paint It sounds so many materials, but it was just what we had in our atelier. :)
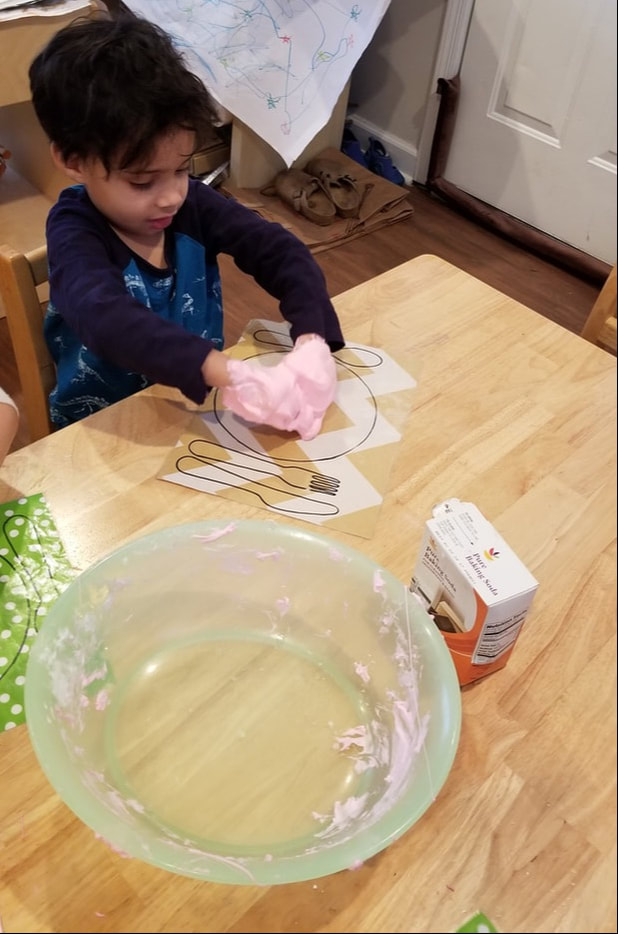
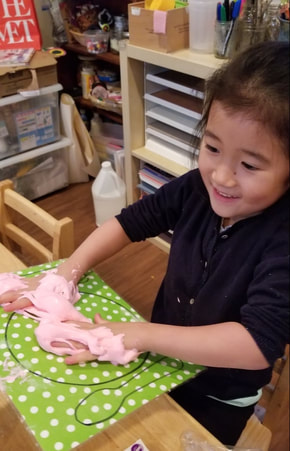
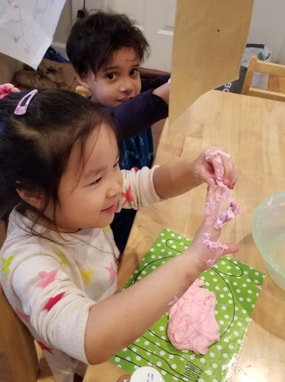
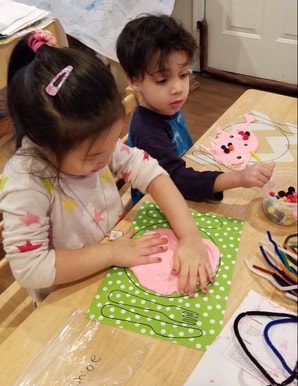
It was amazing how 4 years old can come up with great taste of colors and arranging the materials! 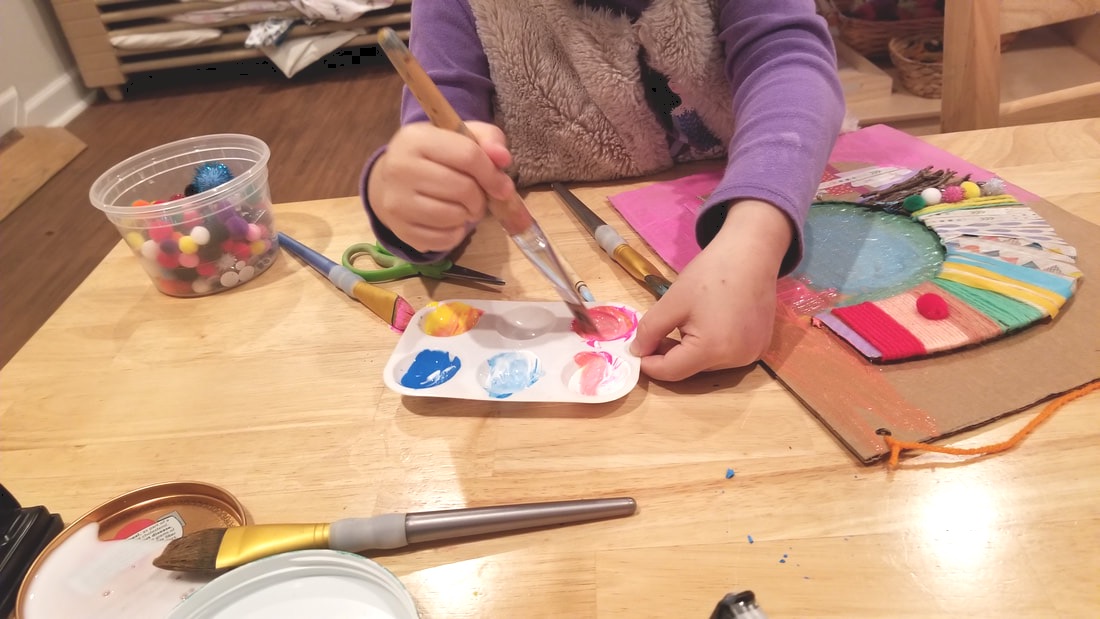 Her color choices were pink, blue and yellow and she wanted to add little bit of white in all the colors to soften it.  Isn't it fun to look at? I love it!! 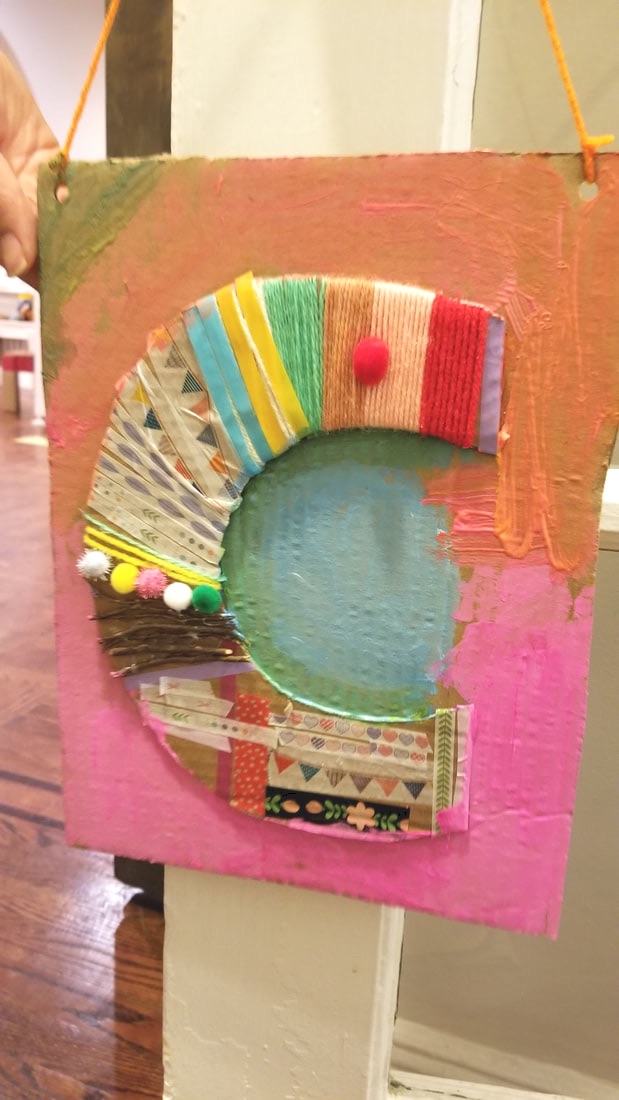 Last Thursday, we made the slime from scratch. We used skin friendly ingredients instead of the conventional ones (borax and detergent), 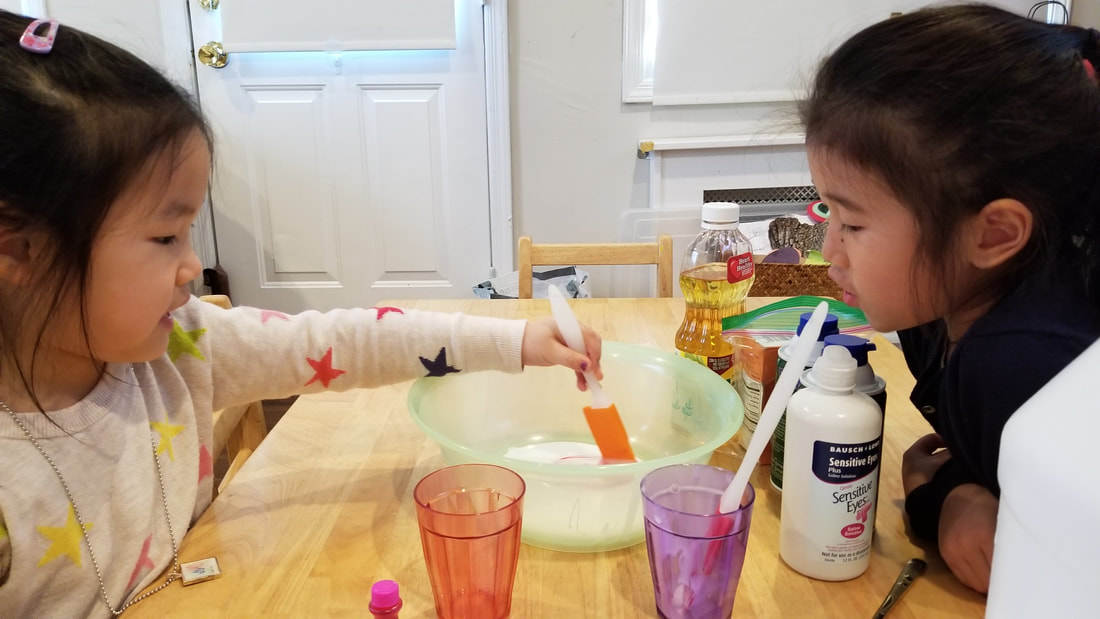 Our ingredients were simple. Washable glue Foam shaving cream Saline Solution Baking Soda Baby Oil After we put all the ingredients, we started to mix them. It was fun to watch the mixture becomes thick and sticky, yet easy to take it off from the utensil and the bowl. After we felt we mixed it evenly, we started to touch it with our hands and knead it. The children were excited about its stickiness, and as we kneaded more and more it became easy to take it off from the hands and started to become like very soft play dough consistency.
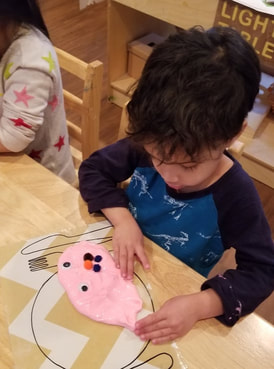
The children played with it for a while and they wanted to decorate with the googley eyes, pipe cleaners, and acorns.
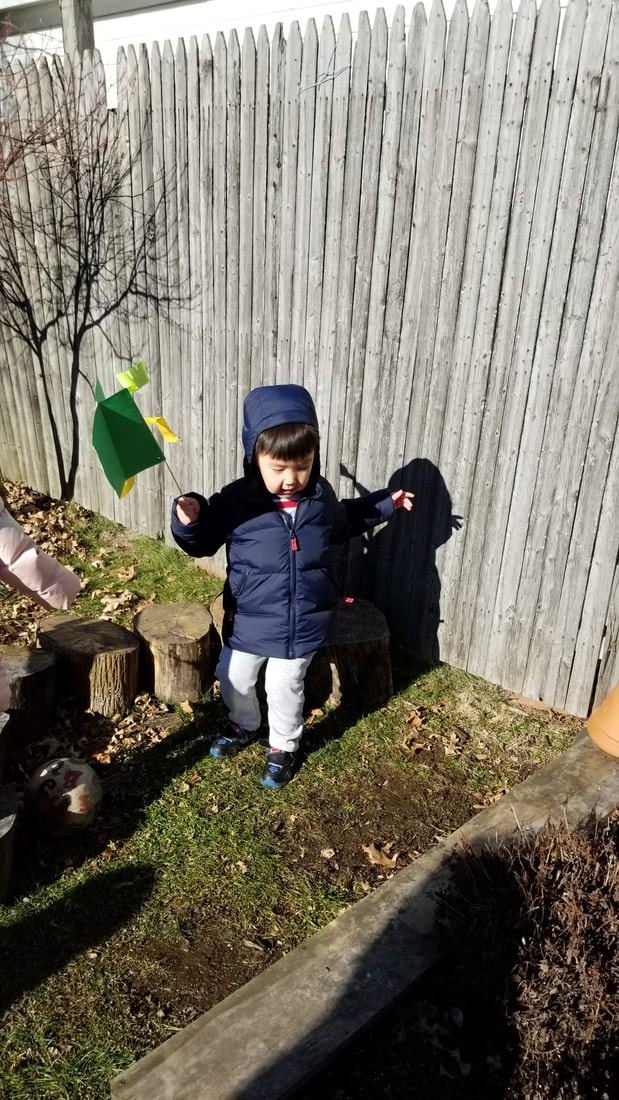
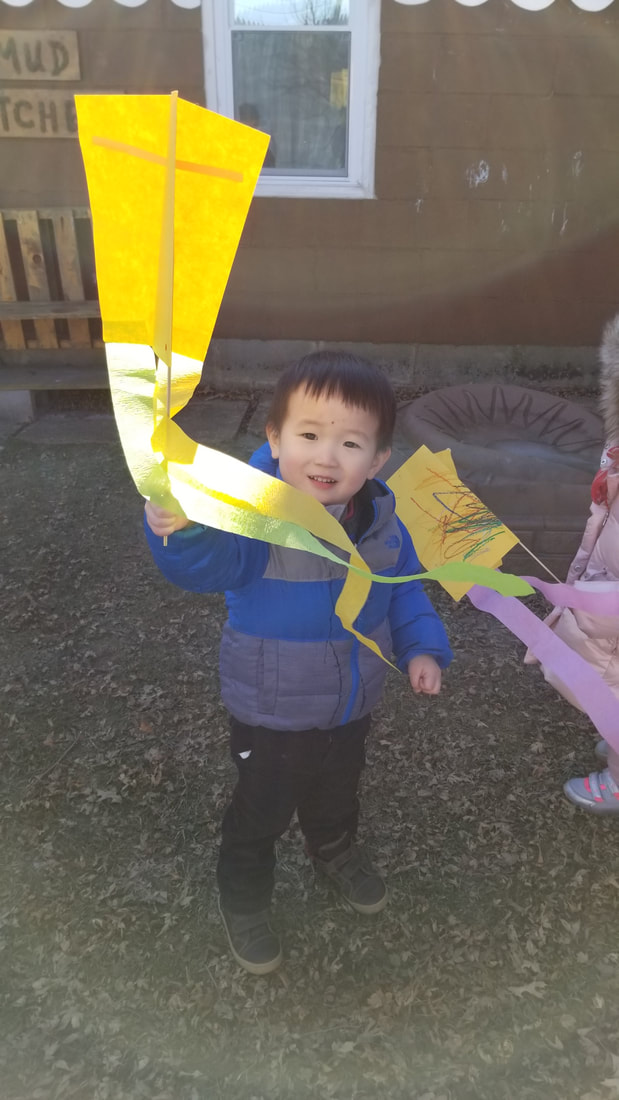
The children loved the creative activity and made the ghost, slime monster, 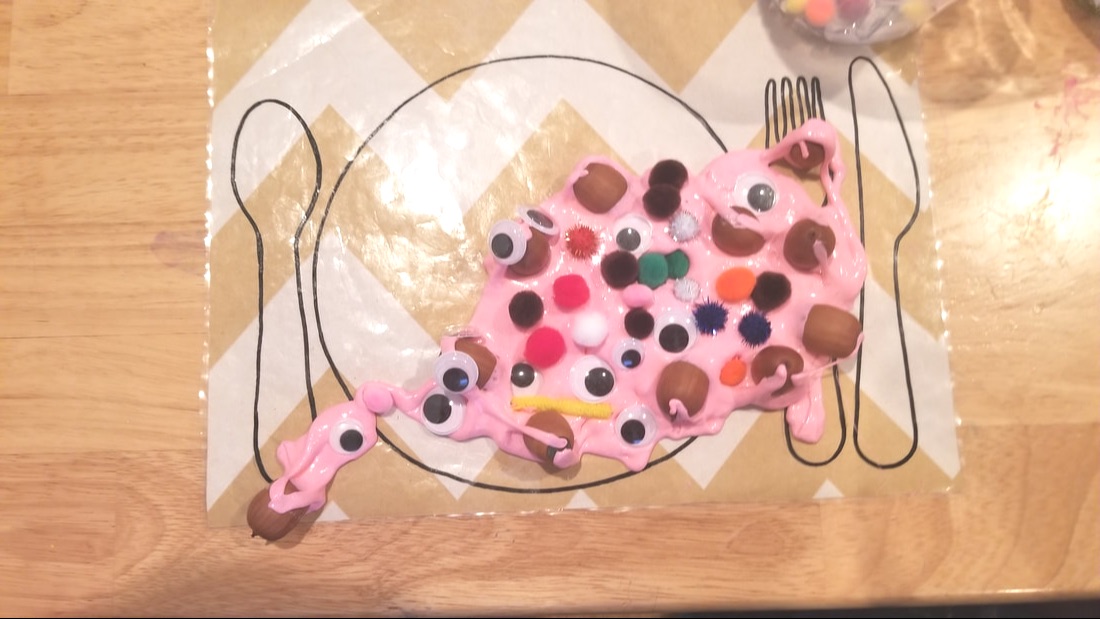 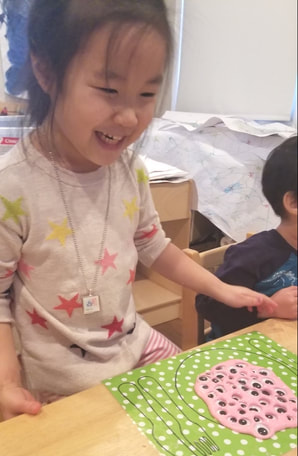 and the smiling happy man! 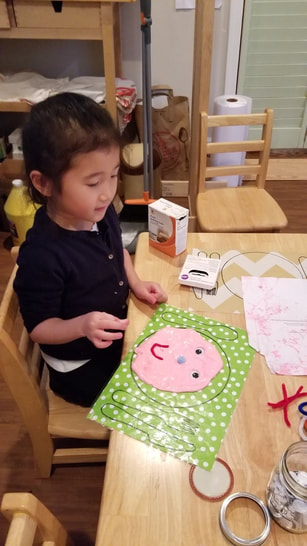 One sunny winter day, we decided to bring our kites to the outdoor play time. It made our outdoor play more special and colorful!
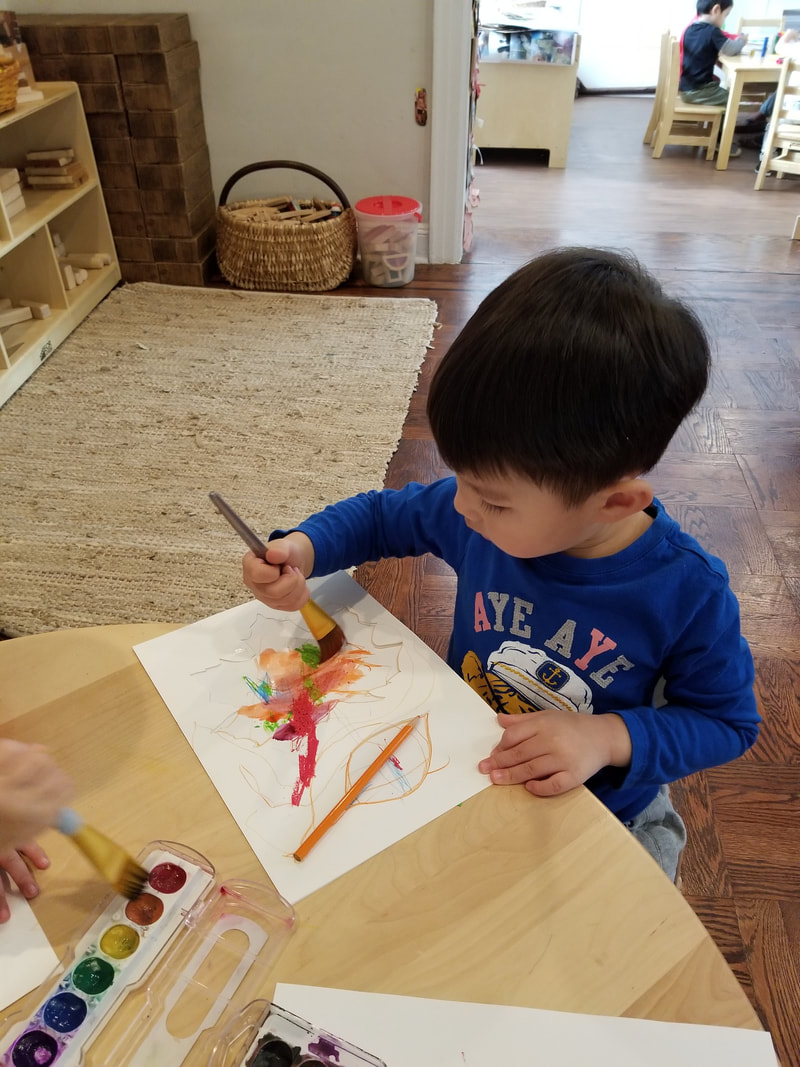
Bubble wrap rolling pin is our one of the favorite art tools. The children created their own interpretation of impressionists' paintings. O chose Van Gogh's Starry Night and S chose Iris Scott's Arcadia (at first I thought it was Van Gogh's painting but later I found that it was different artist's work which seemed similar to Van Gogh's painting style). I chose Van Gogh's paintings because I wanted the children to pay attention on how he used his brushstrokes to describe movements of moving clouds and swirly wind in the sky. 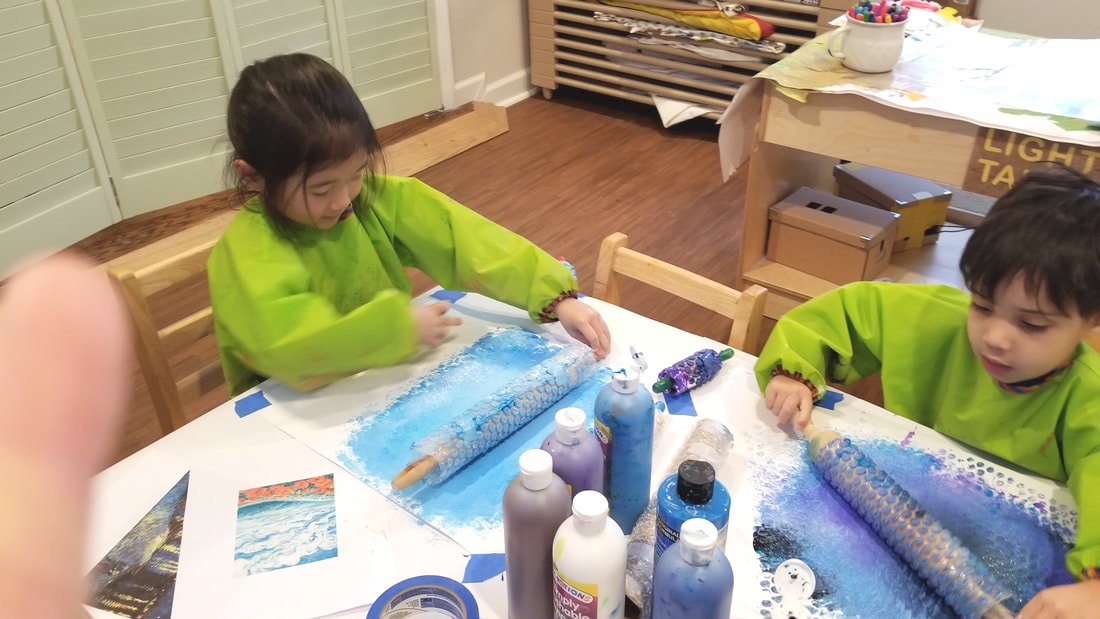 S (5yrs old) chose the day time scenery picture so she used blue and white, and O (4yrs old) chose night time scenery picture so he used blue and black for the background. 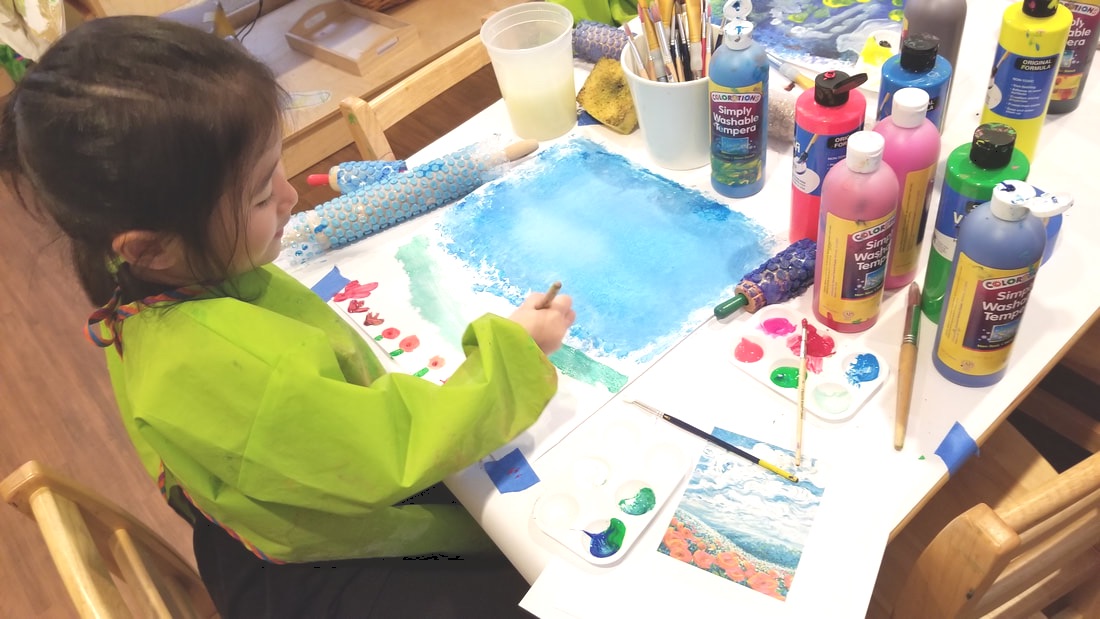 The children used the bubble wrap rolling pin to resemble the impressionists' brushstrokes which depicted bright, shiny light reflection in the scene, and I think it came out fantastically. 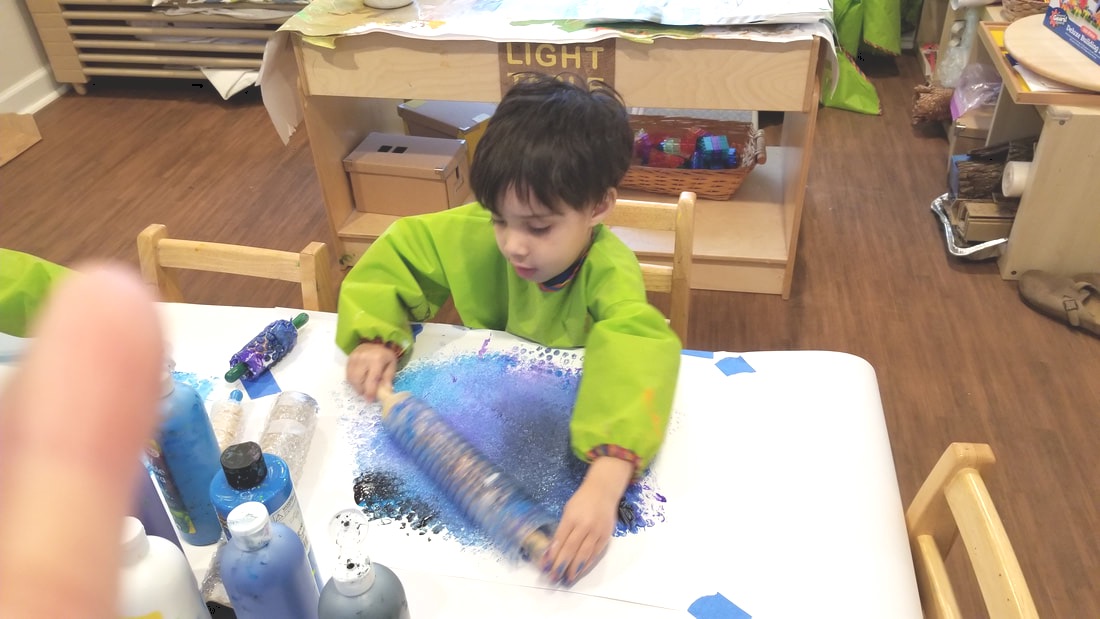 S was really careful about her choice of colors and positions of the flowers, and she was so surprised at her own work at the end. During the process, she asked a lot of questions about how to make that moving clouds and she really put effort to it. 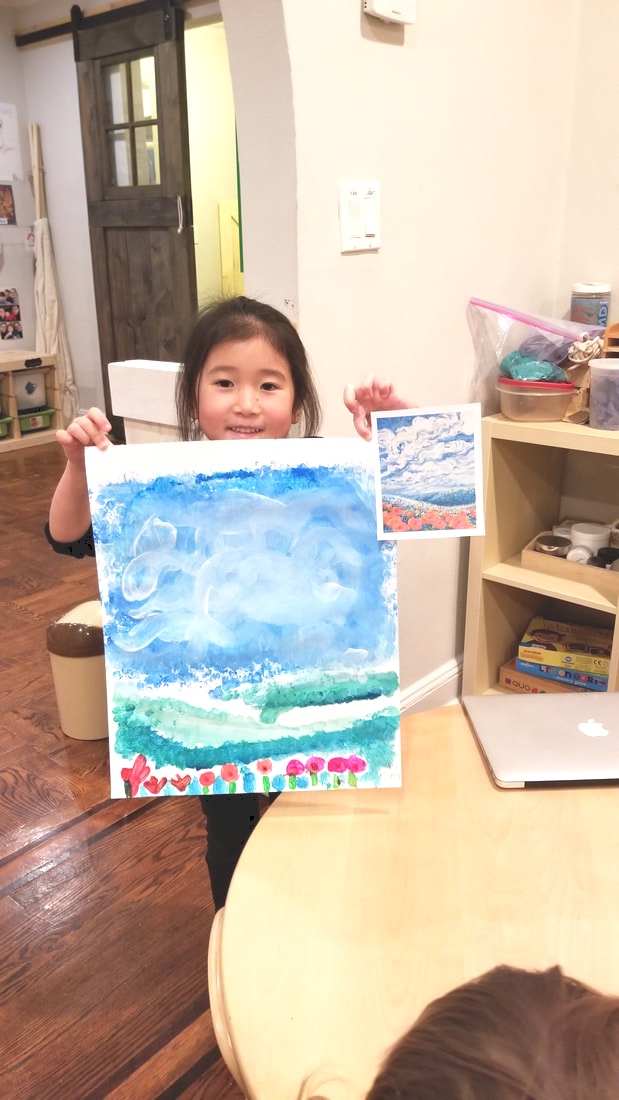 O (4yrs old) used bold brushstrokes as Van Gogh did. He was very proud of his work as well. Although Van Gogh's moon in the original painting was yellow, he decided to go with white only because that's what he saw in the sky. From far away, Van Gogh's moon seemed like a full moon, but when they looked at it closely, they found the crescent moon inside the circle. 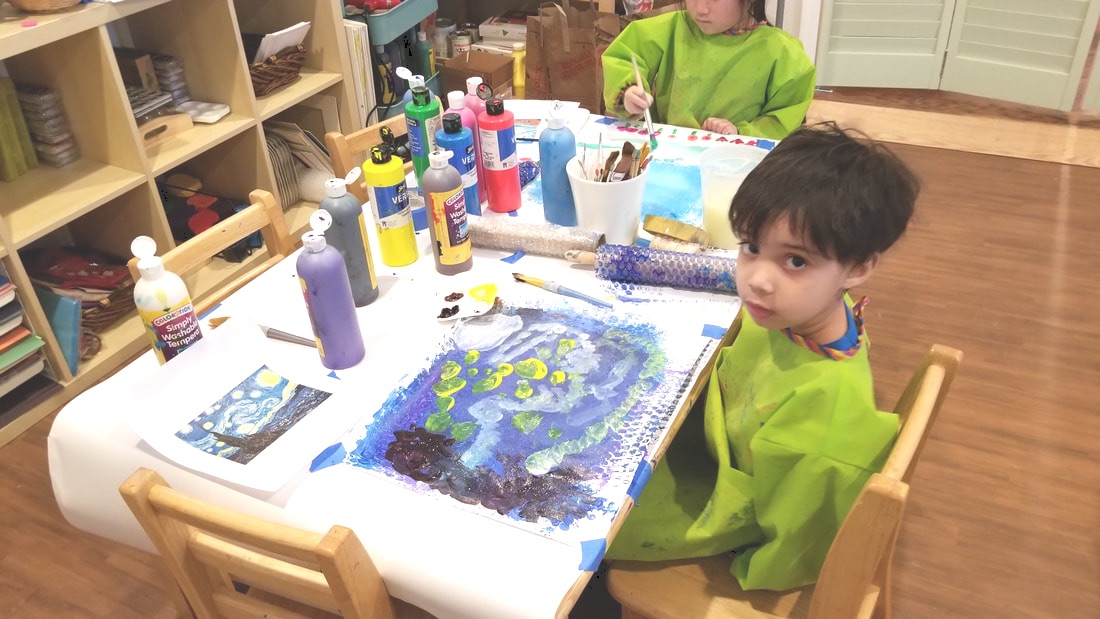 It was a fun exploration about the impressionism!
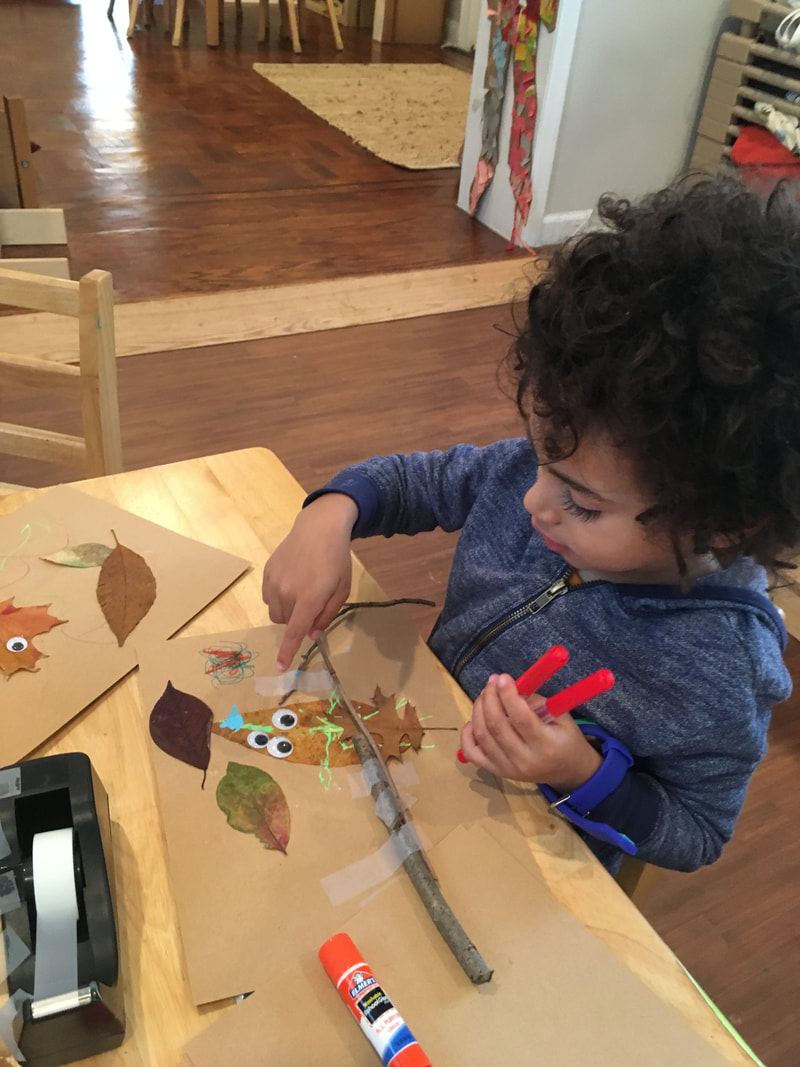
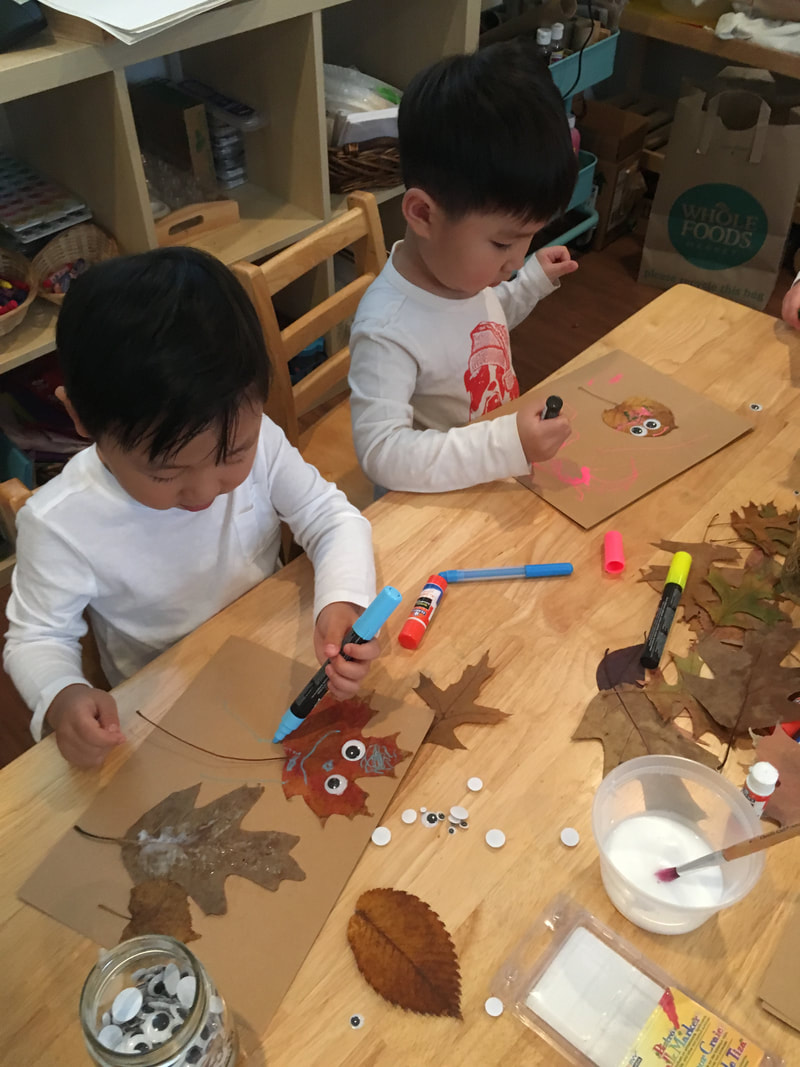
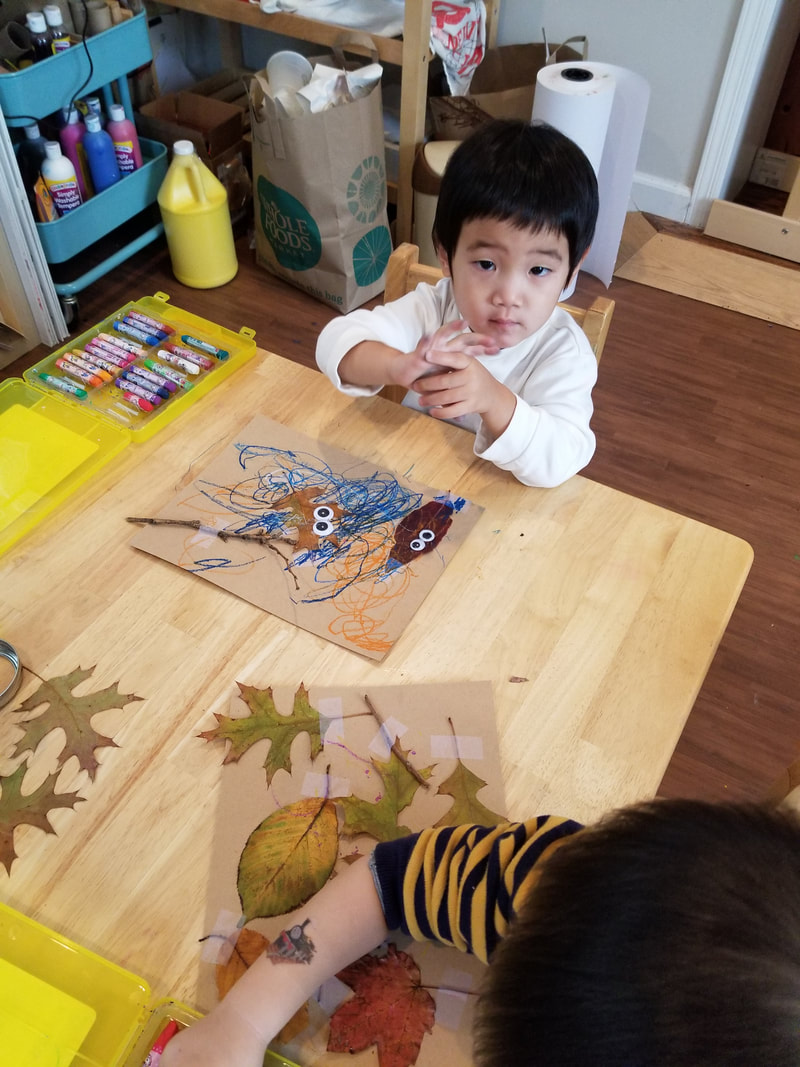
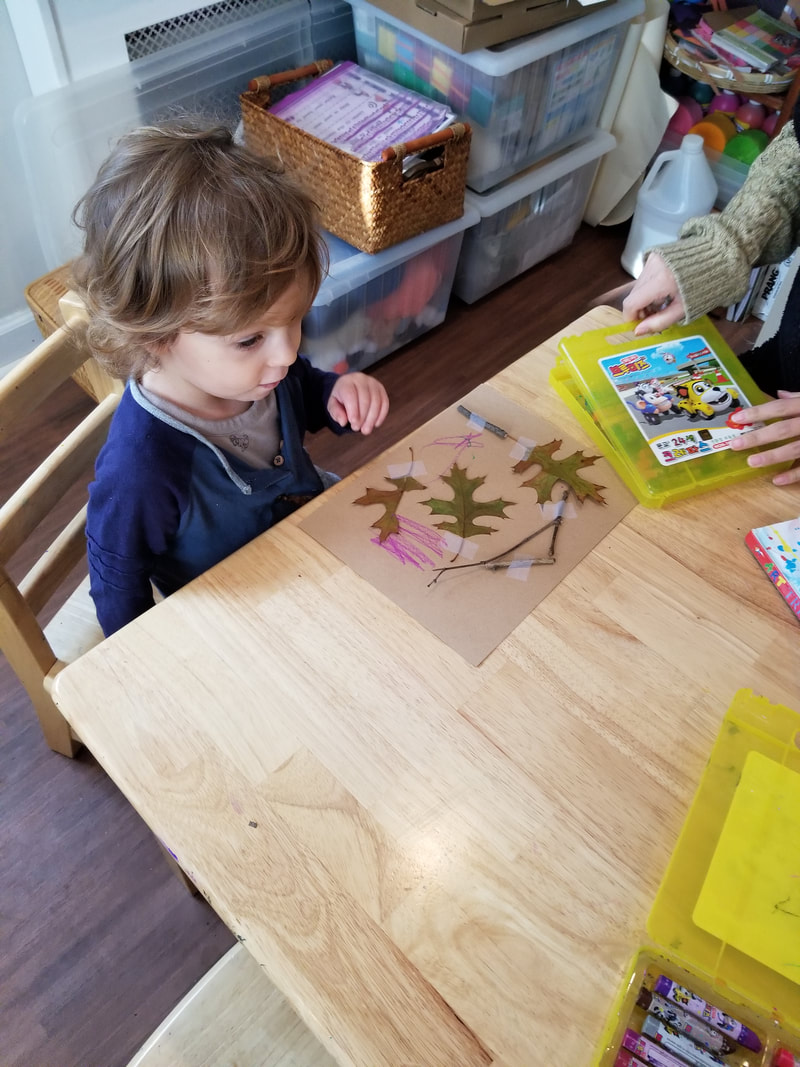
The Leaf Project started with mod-podging the dried leaves that the parents brought. The parents researched the names of the leaves and kindly labeled it on the zipper bag. Wouldn't it be great when each child brings a leaf (at least) with the name and we get to know at least 6 names of the leaves? I was thrilled about the projects to be unfolded. When I thought we had enough leaves to do several projects, we were ready to take off. 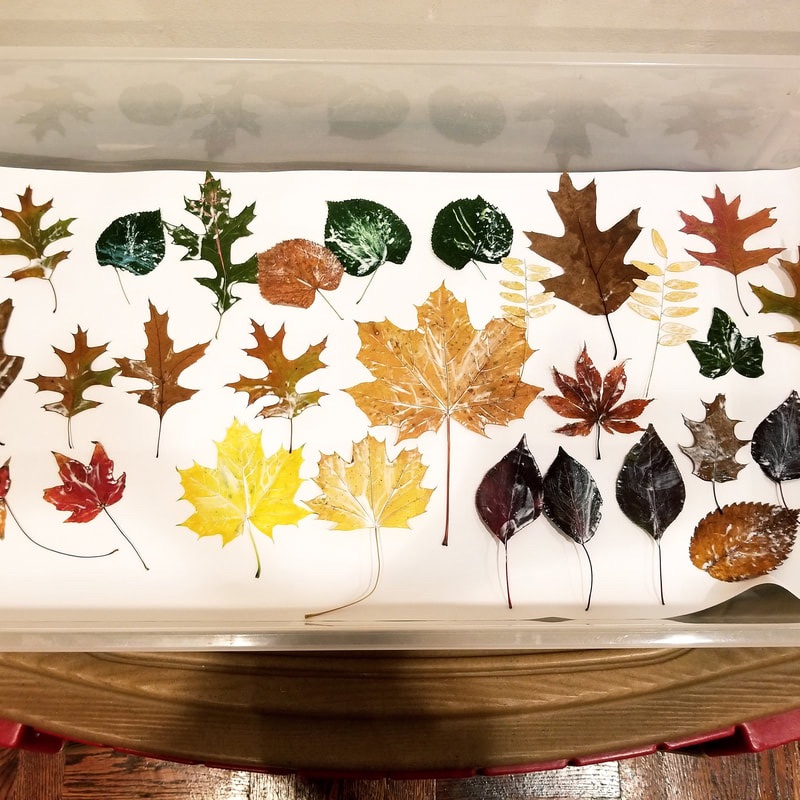 This parent even put air in the zipper bag for not crushing the leaf. How thoughtful that was! 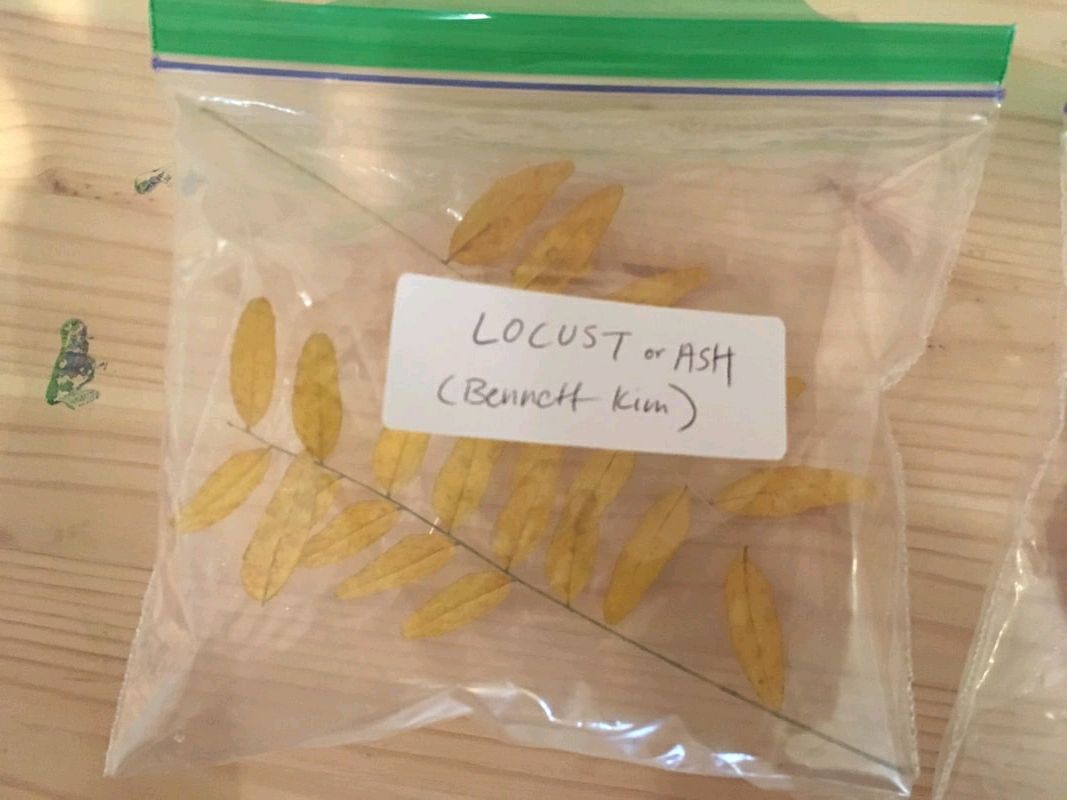 1. "Not a Stick" At first, we read the book, "Not a Stick!" by Antoinette Portis and the children unfolded their imagination and creativity. I gave each child a twig on a piece of paper and they filled out the rest. 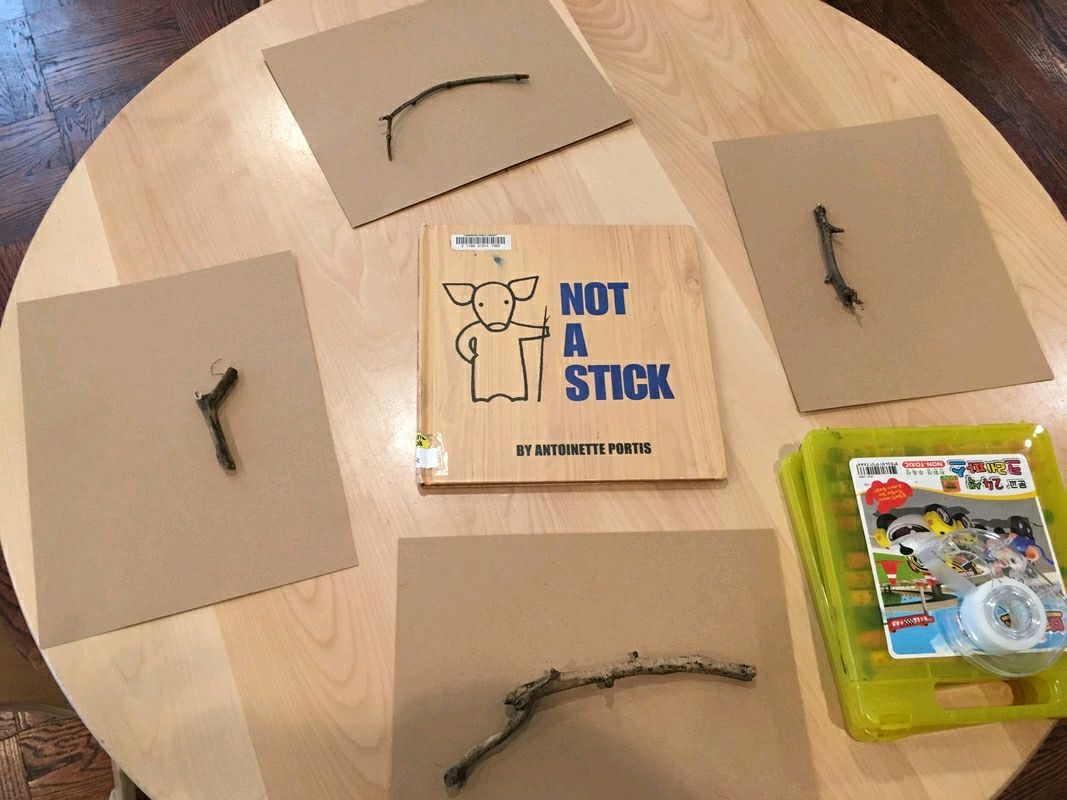 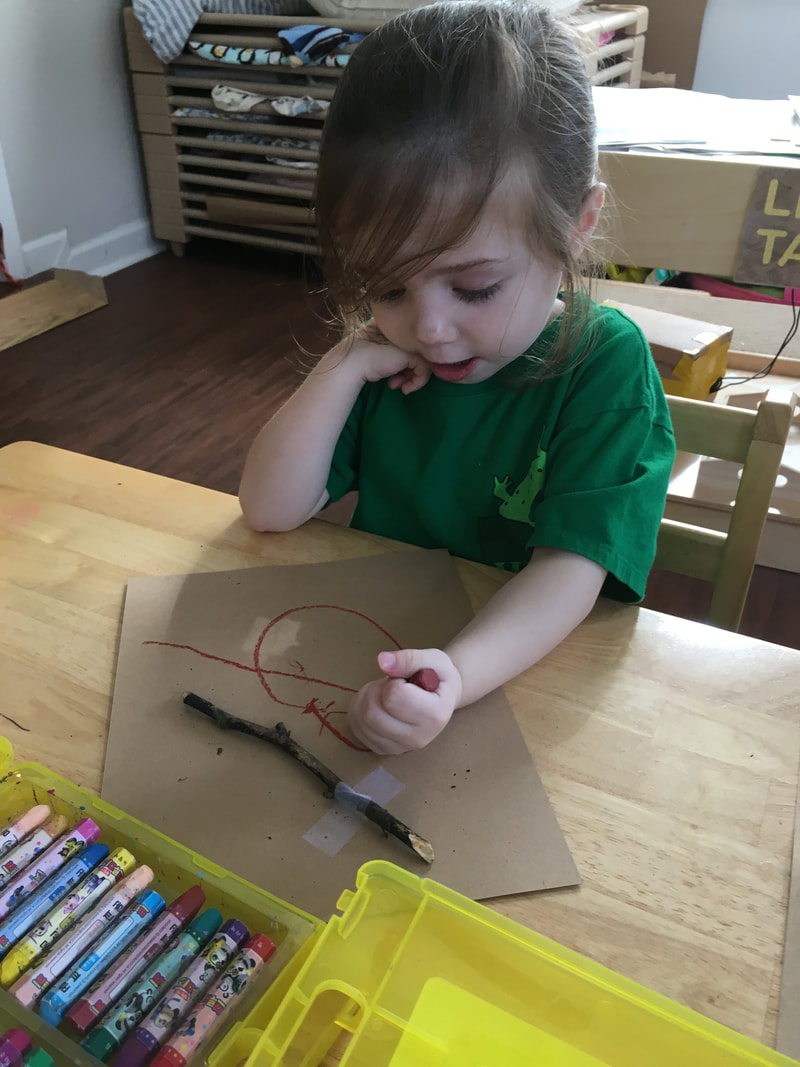 2. Leaf Man The second book we explored was Leaf Man by Lois Ehlert. The illustrations of the book were quite provoking to the children's imagination. We used the leaves, twigs, goggley eyes, chalk markers and oil pastels to make their leaf man. See the funny faces they created! 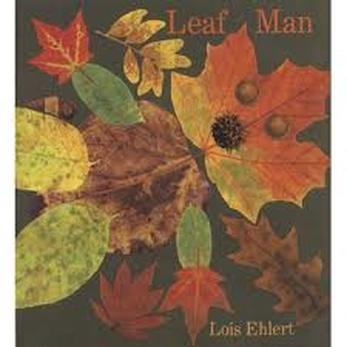 Little Picasso (3's) children are working hard.
Little Matisse (2's) children are having fun as well!
The leaf-men are as playful as themselves! 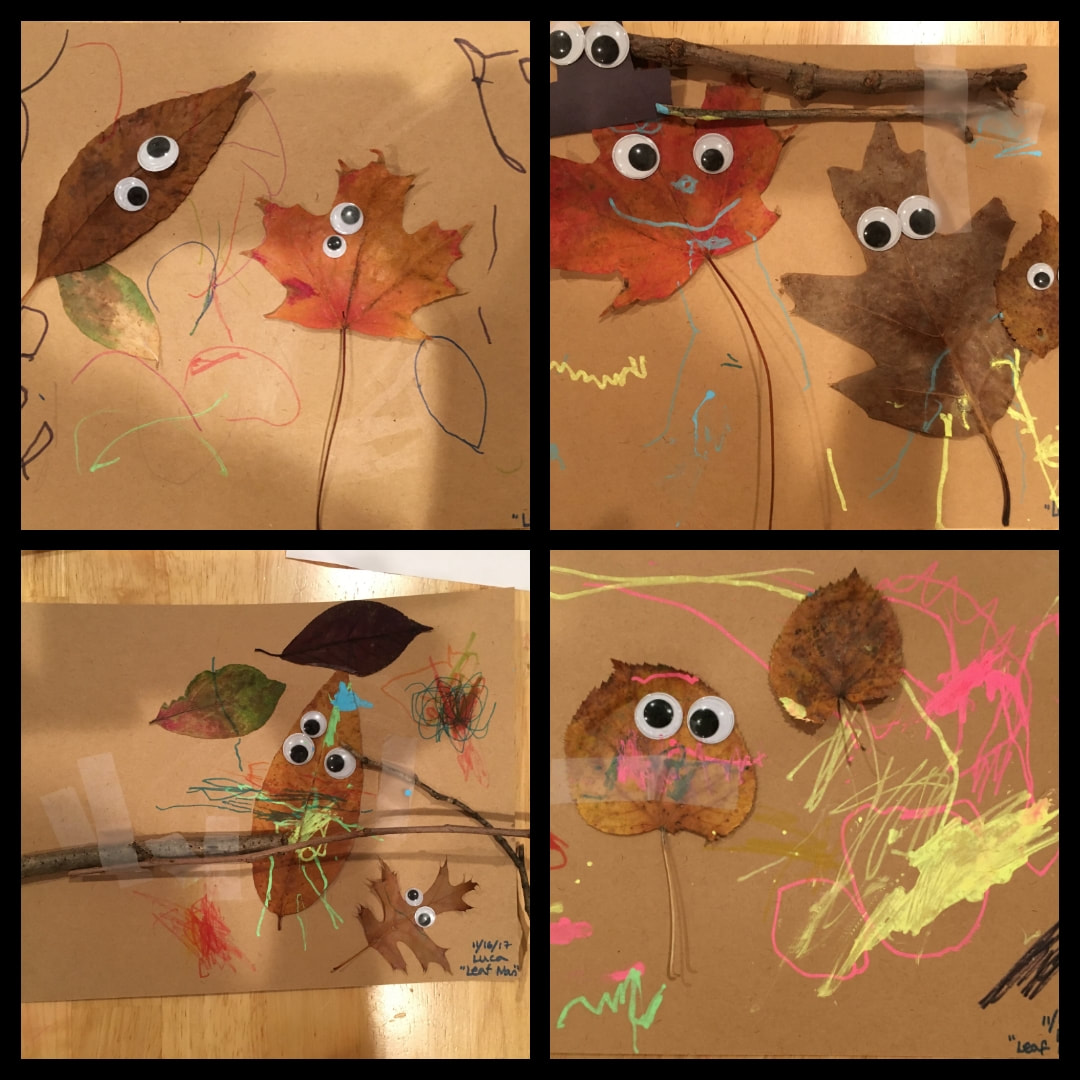 3. Fall Wreath It would be a nice gift for the family and the children were so proud of their works! 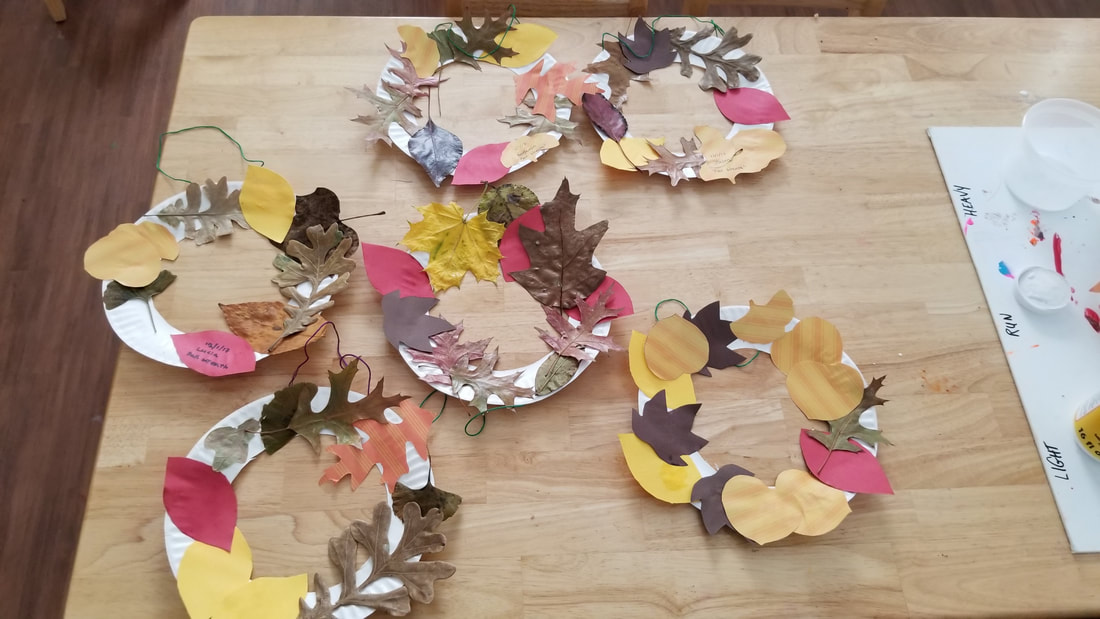 4. Leaf Identification The children are working on the maple and dogwood leaves with pom pom painting.
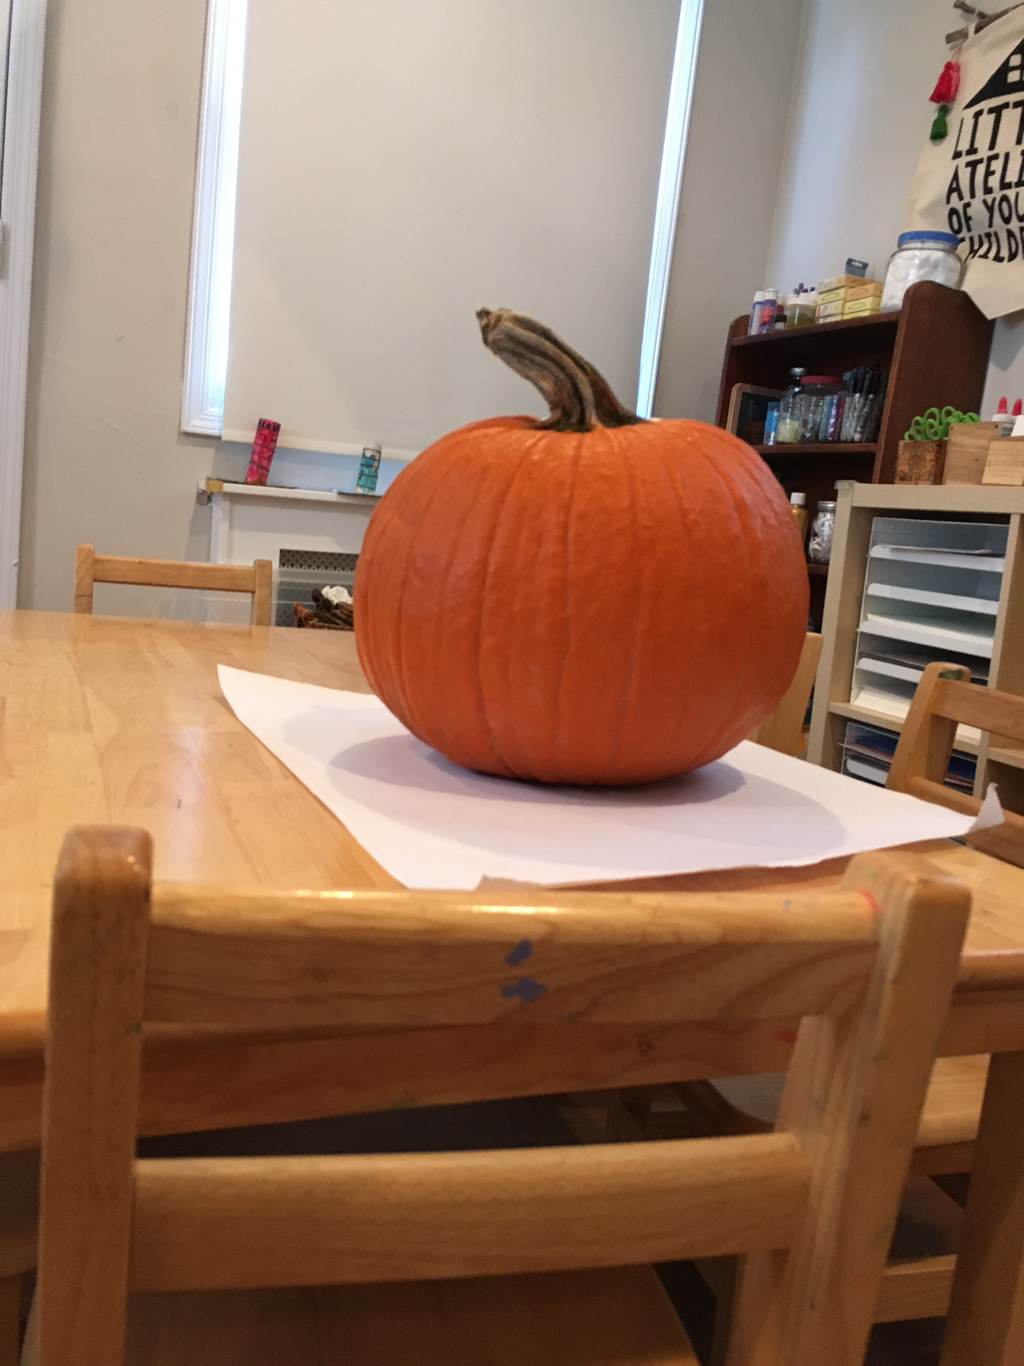
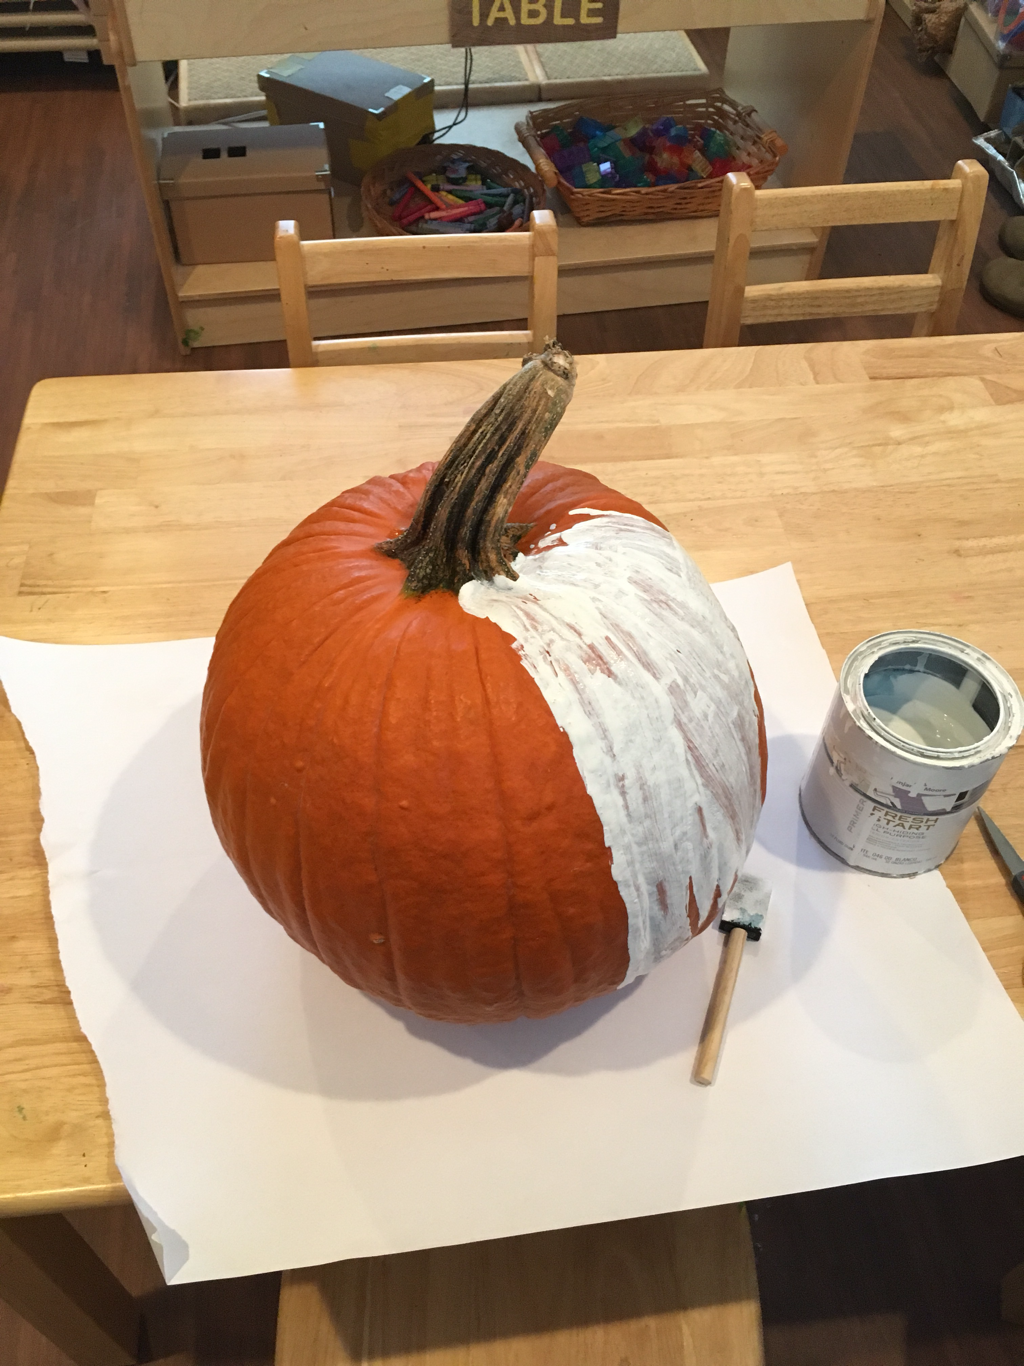
Making ash leaves required some hand-eye coordinations! 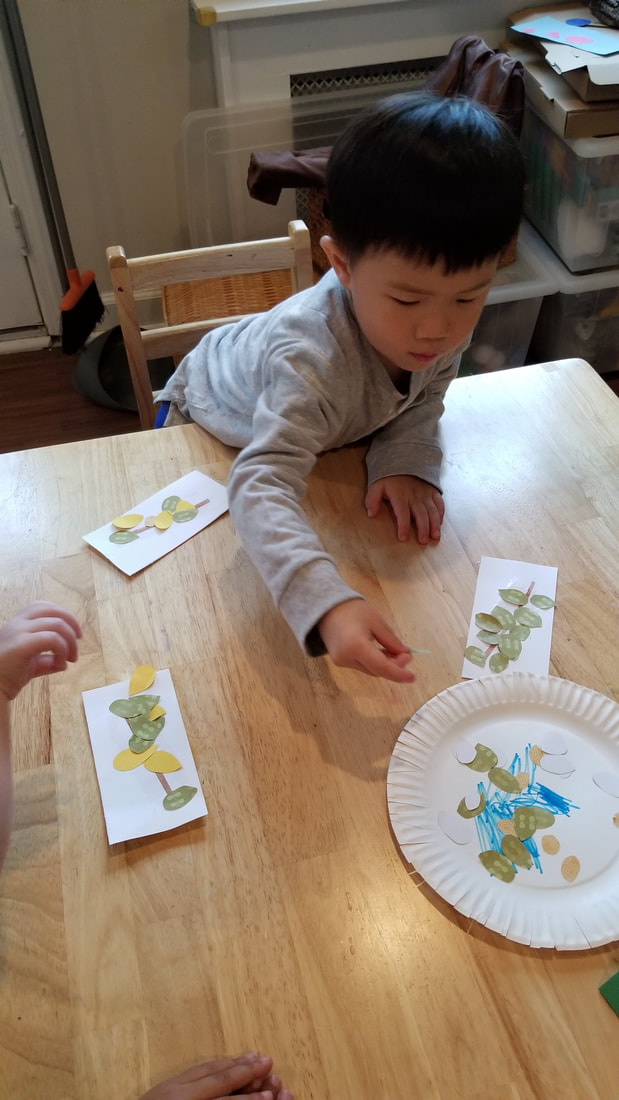 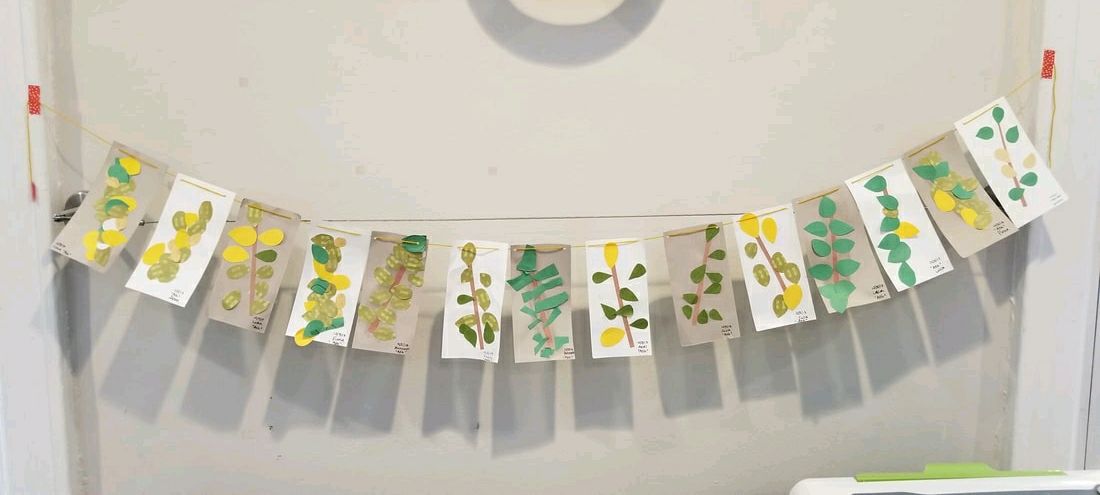 Look at our leaf collection! Maple, red oak, white oak, aspen, dogwood, sugar maple, elm, ash, aspen and adagio grass, etc. The oak leaf lacing was fun and the children were persistent to do it. The children were fascinated about the different shapes of the red oak and white oak leaves. They said, "the red oak is pointy and the white oak is round like reindeer's antler!" Now when they come in the morning, the children gather around the wall and play "leaf identification" with the teachers! We are so grateful for the parents' support! 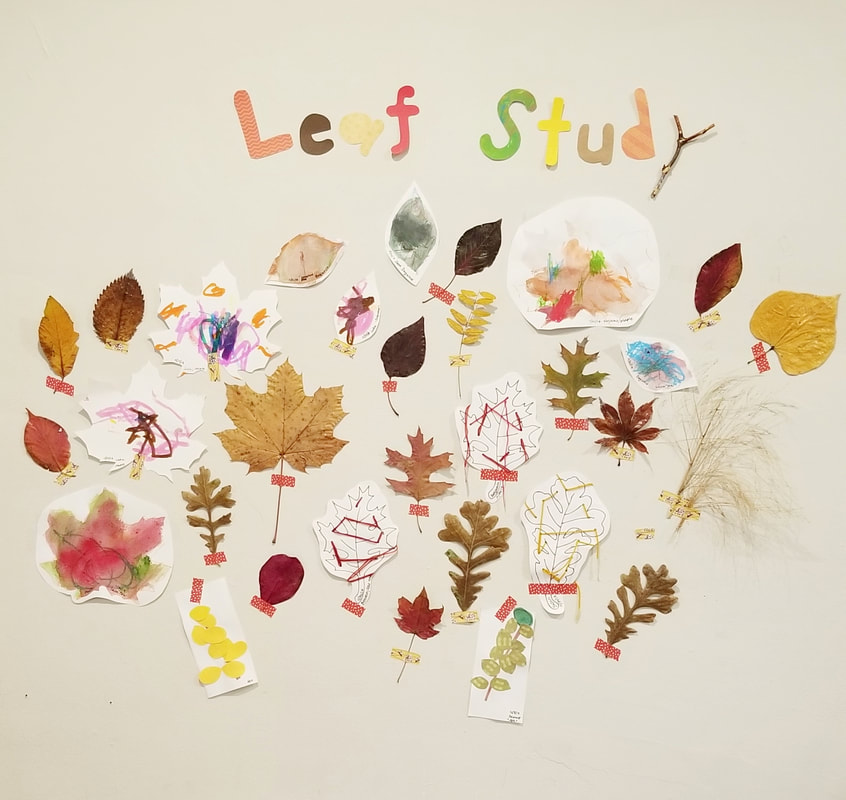 The children celebrated 2017 Thanksgiving by making the pilgrim's hats and bonnets. The process was very simple but the result was rewarding. The children were excited about their works and all looked so cute! They loved it because they felt like becoming the pilgrims when they wore the hats and bonnets. 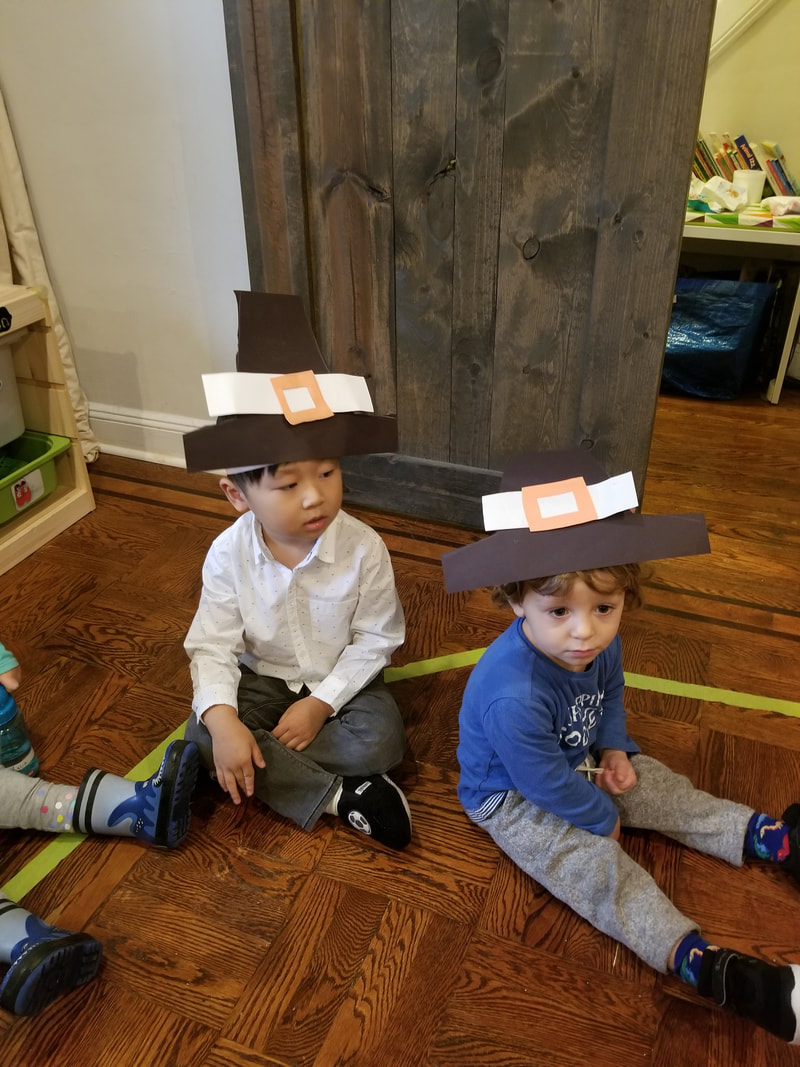 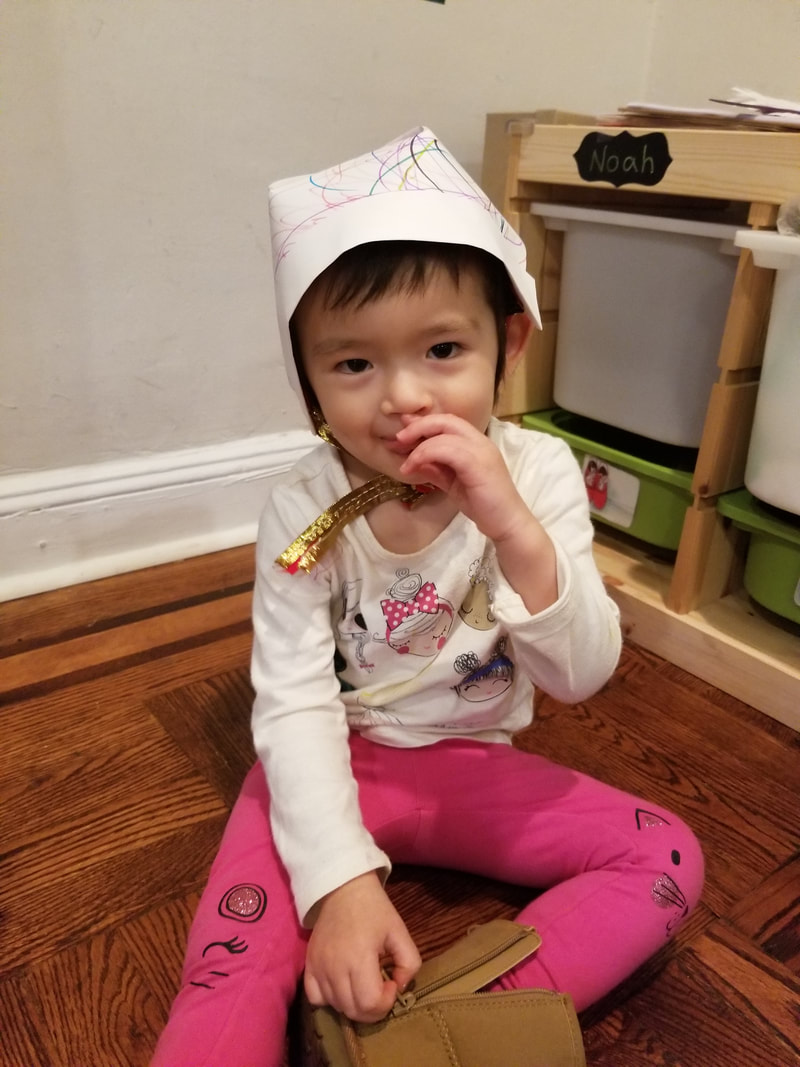 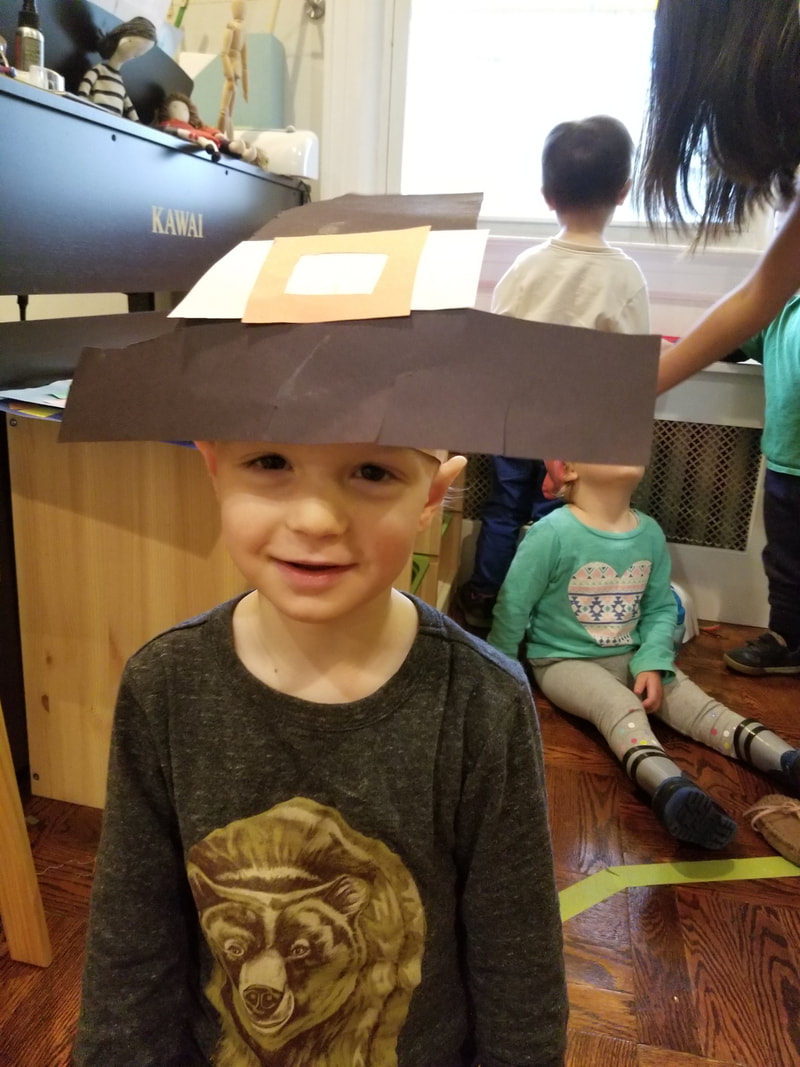 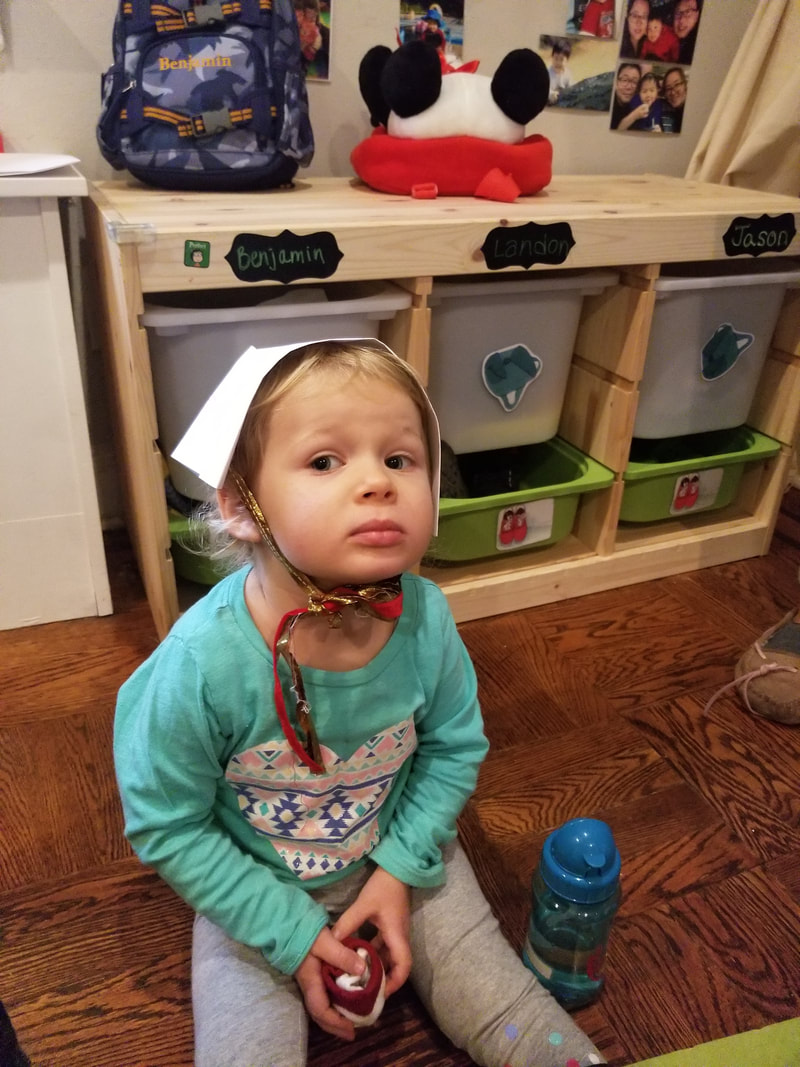 I was glad that the fall has finally arrived but it seems like it's gone already. The children and the teachers worked so hard for the fall decorations and we are enjoying it as much as we can. 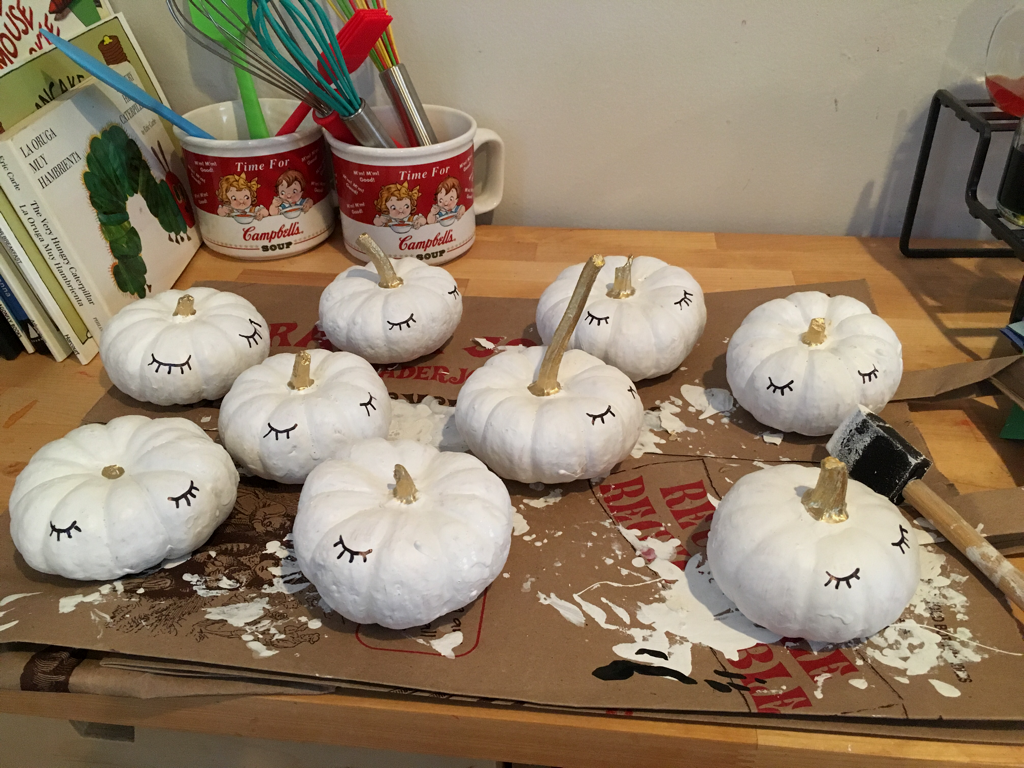 The dolled-up baby pumpkin! 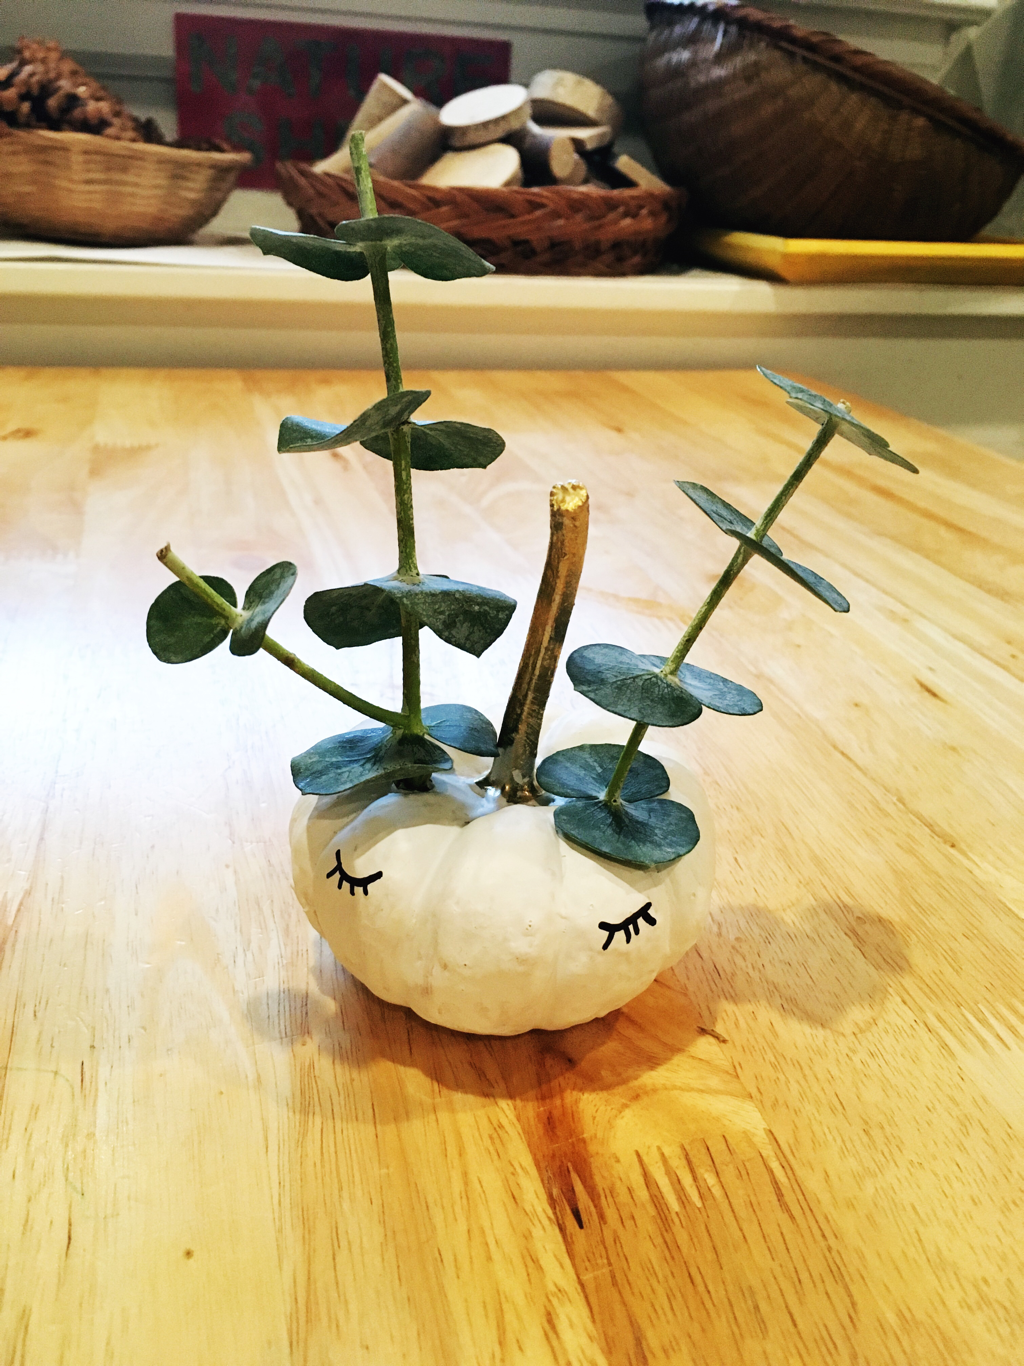 The children painted the stick a few weeks ago and it looked so awesome when we hung it on the wall. The children were soooooo proud of their stick and the colorful pumpkin!  We took the photos of the children with the polaroid camera. The children were so excited to see how the white film paper was showing their images. 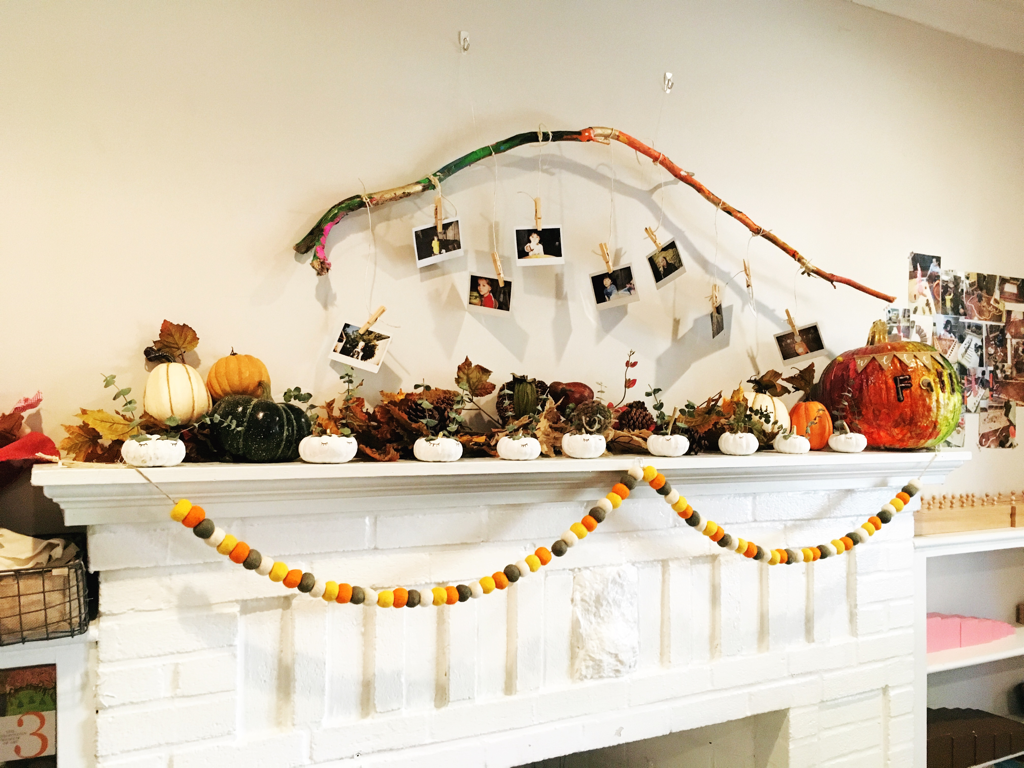 The front view! 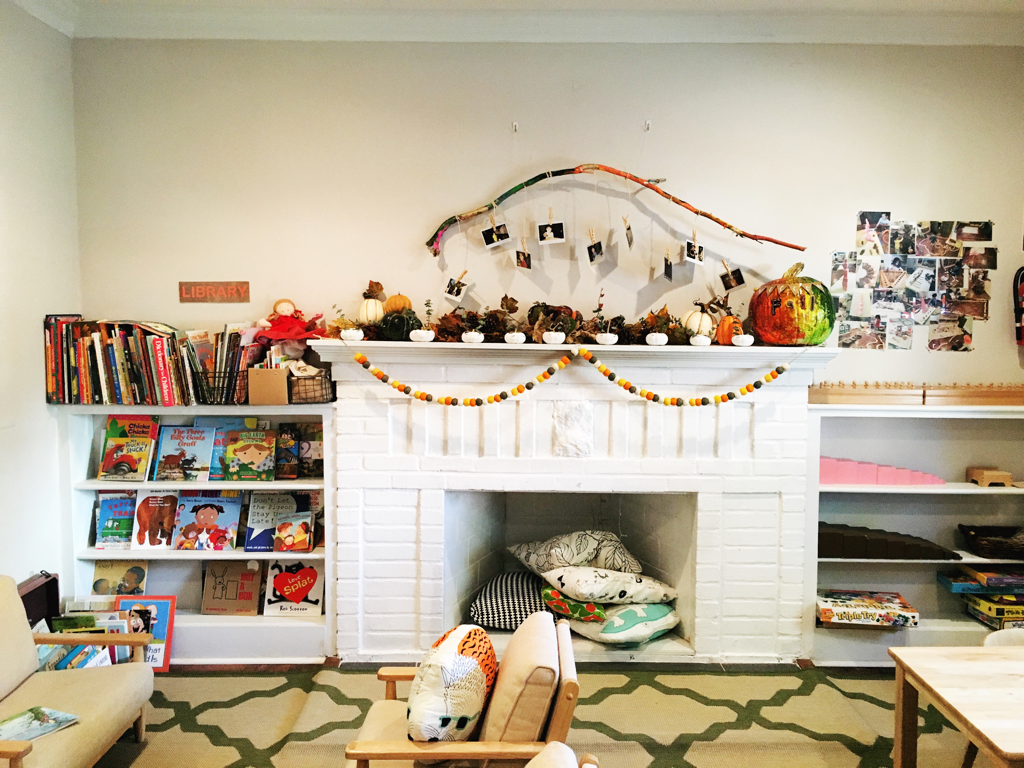 The close-up view of the beautiful things! We have so much to do in this autumn but....the winter is already knocking our door. 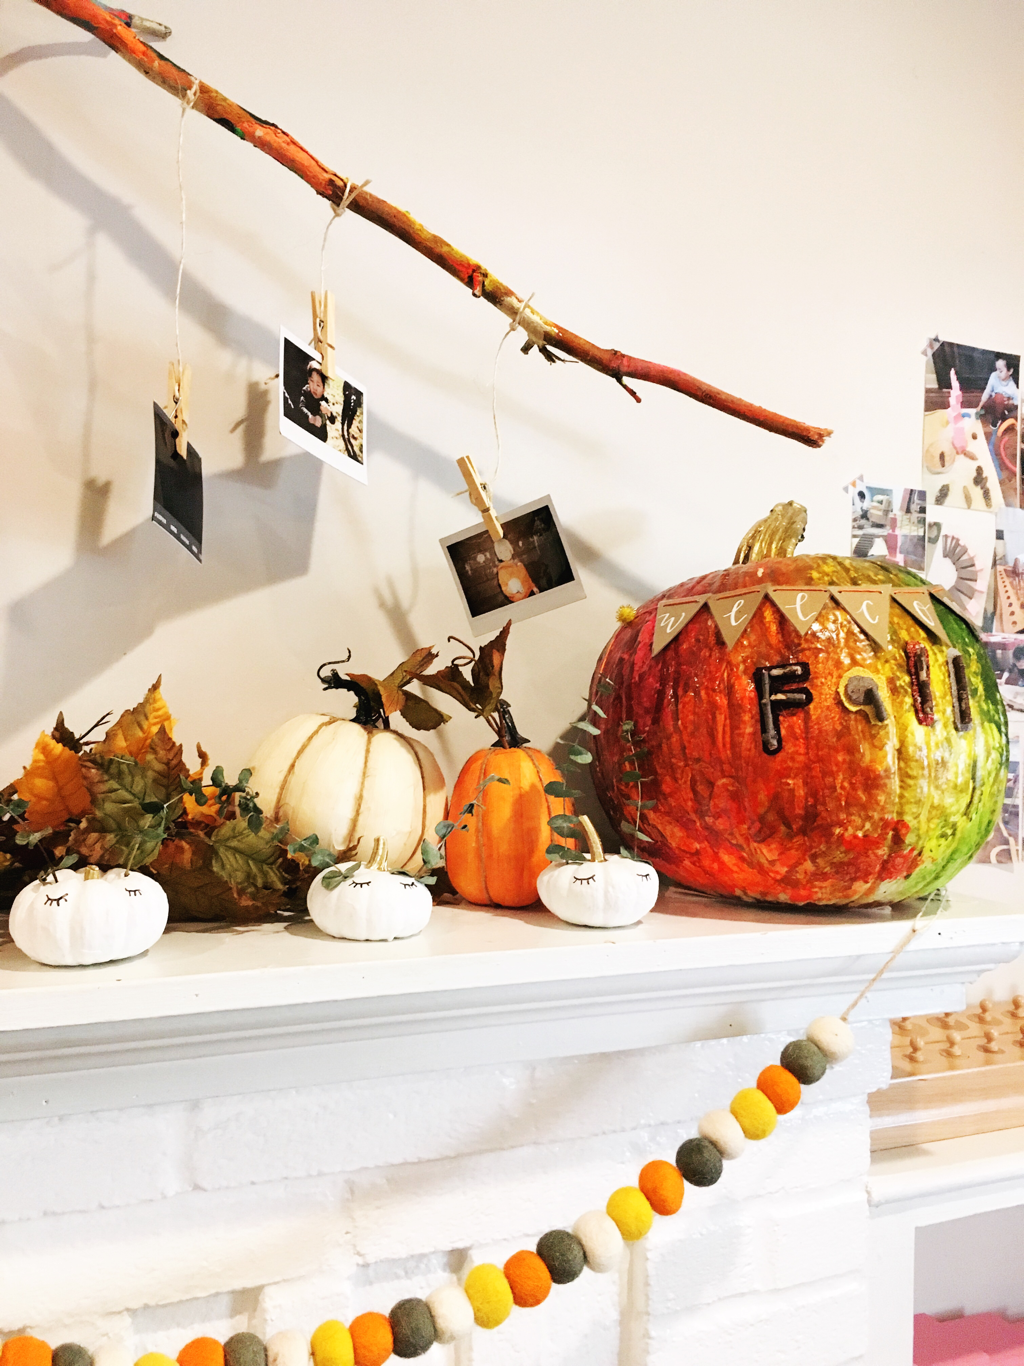 This year, I really wanted to do a pumpkin art with the children. Carving is fun but it has limitation to work with the young children so I decided to paint it. I got the best looking one from the Trader Joe's and painted it with the primer so the children's paint colors could stand out.
The pumpkin canvas was ready and waiting for the children! 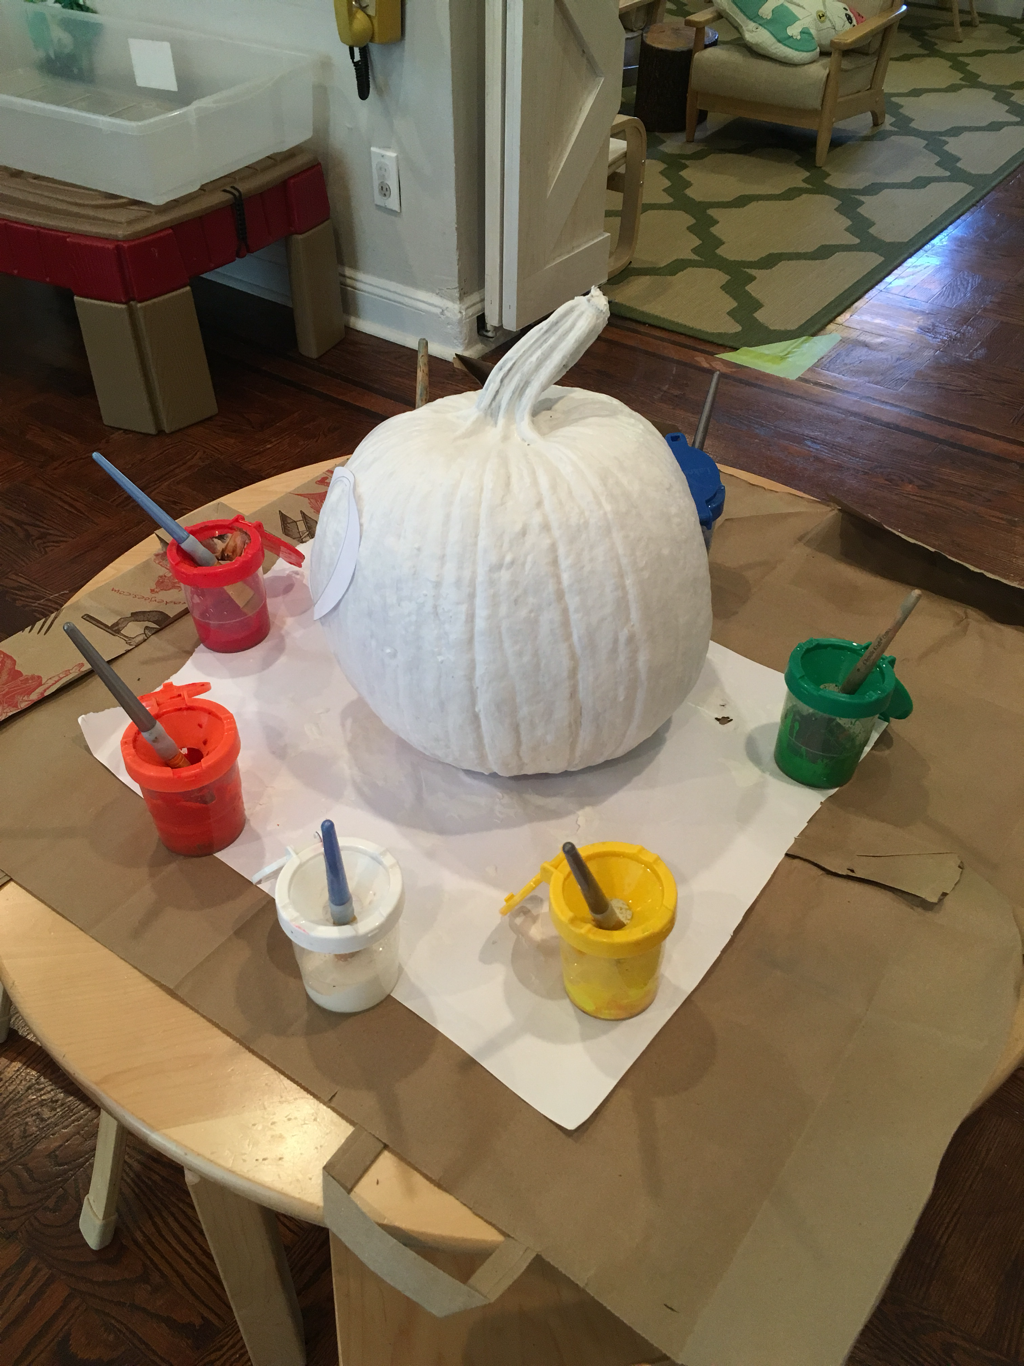 The children were so excited and they painted it very enthusiastically. They commented about each other's colors and loved how it came out. 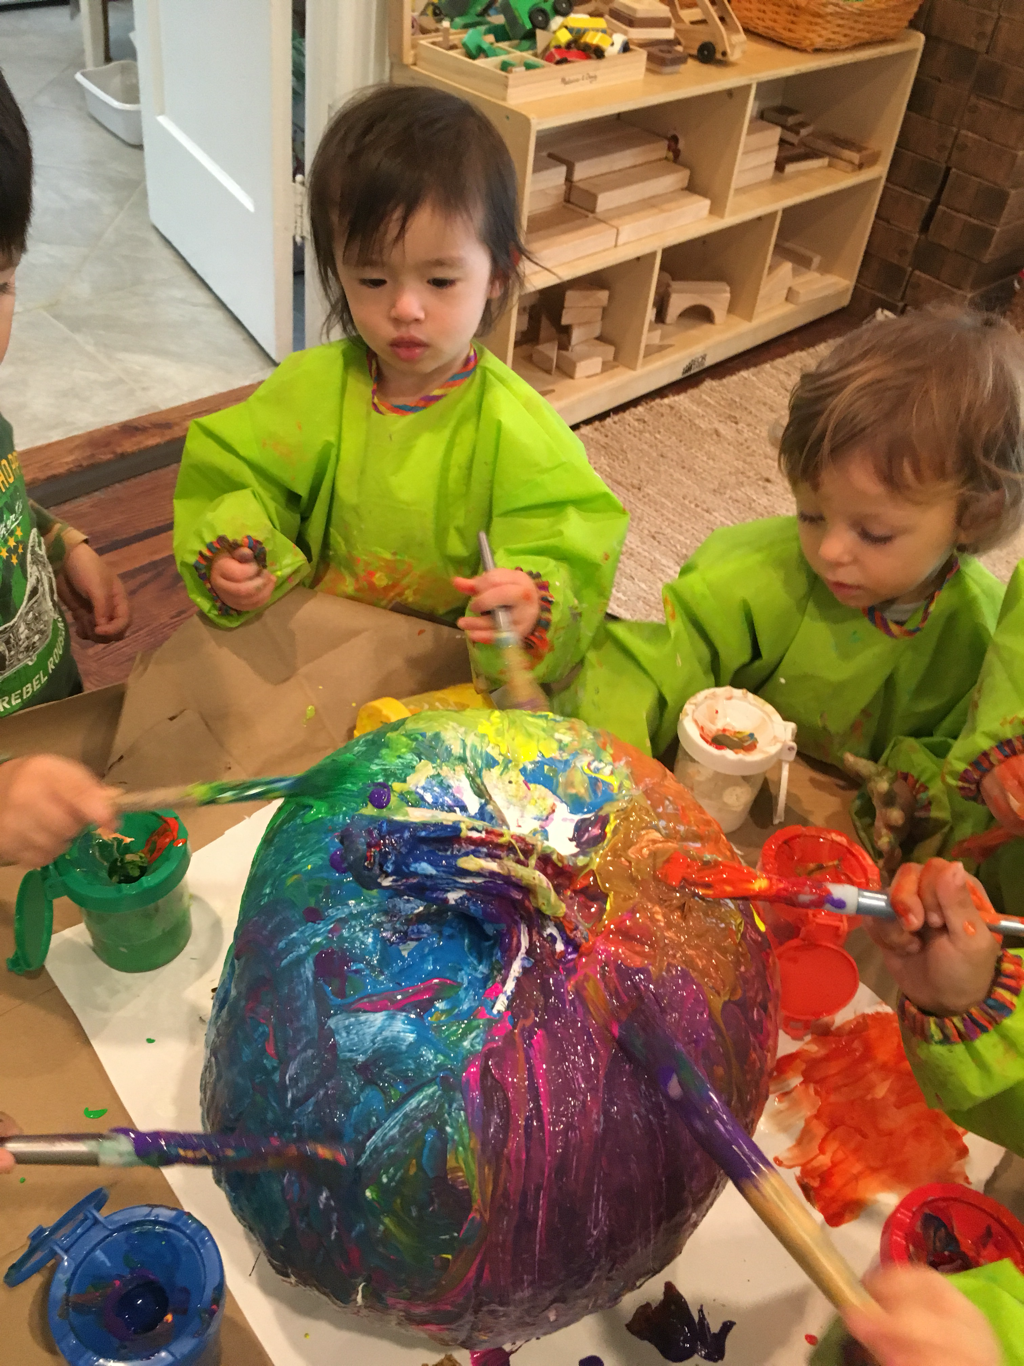 Messiness is the evidence that the children really enjoyed it! 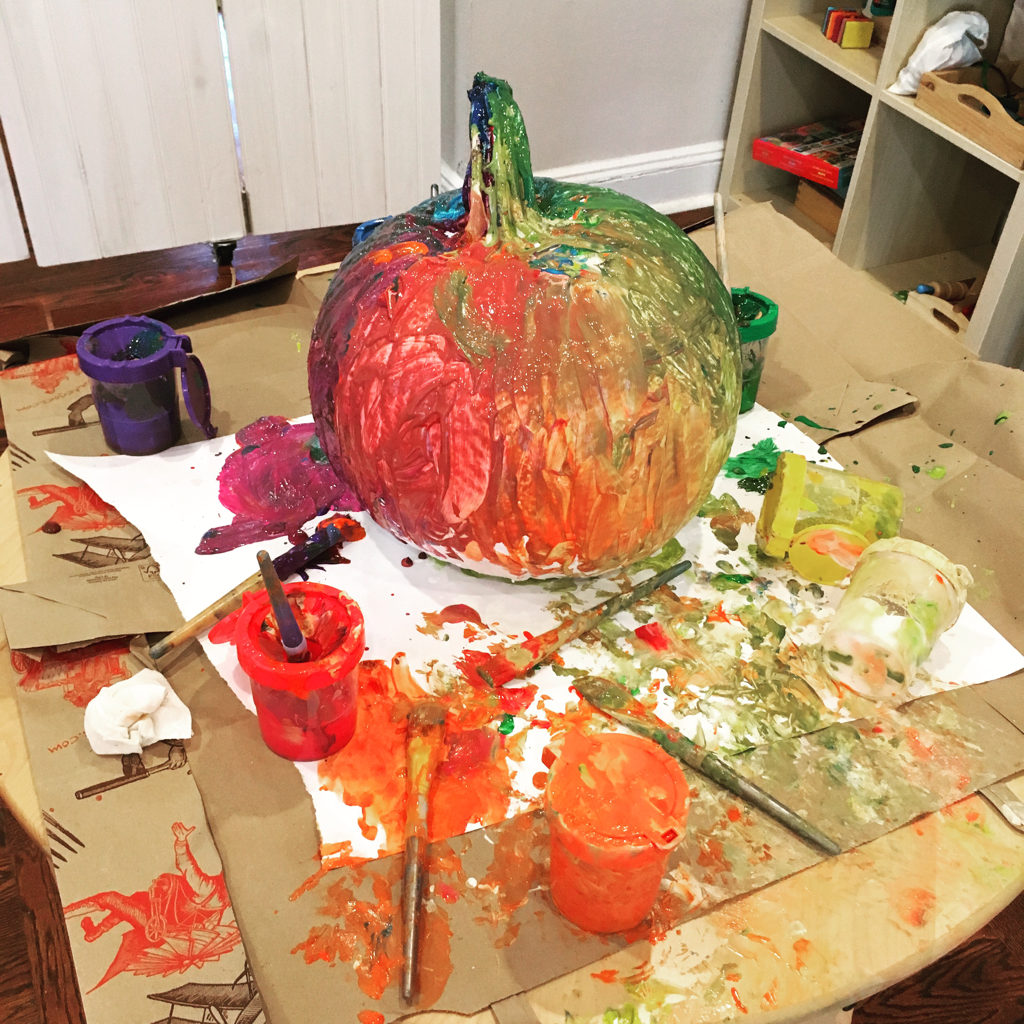 I coated it with polyurethane just to save it for longer time, but the colors would've been more vibrant without it. 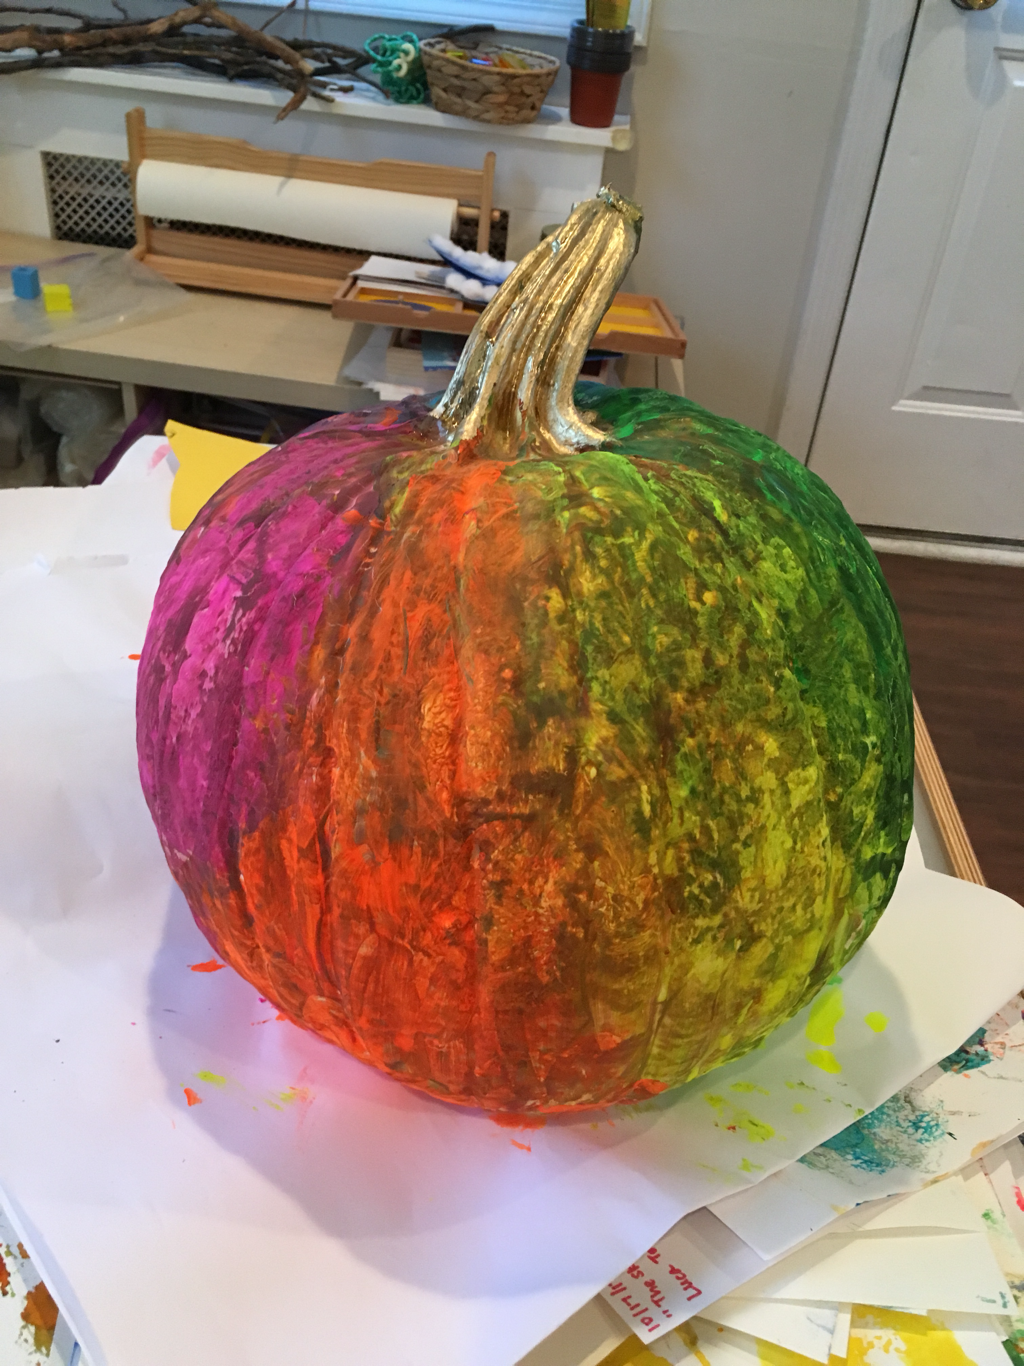 Ta~dah~! This became the great piece for the mantel decoration.  |
AuthorWe are the teachers of Little Atelier. We love to share our fun days, meaningful plays, and memories with you! Archives
June 2020
Categories |


 RSS Feed